
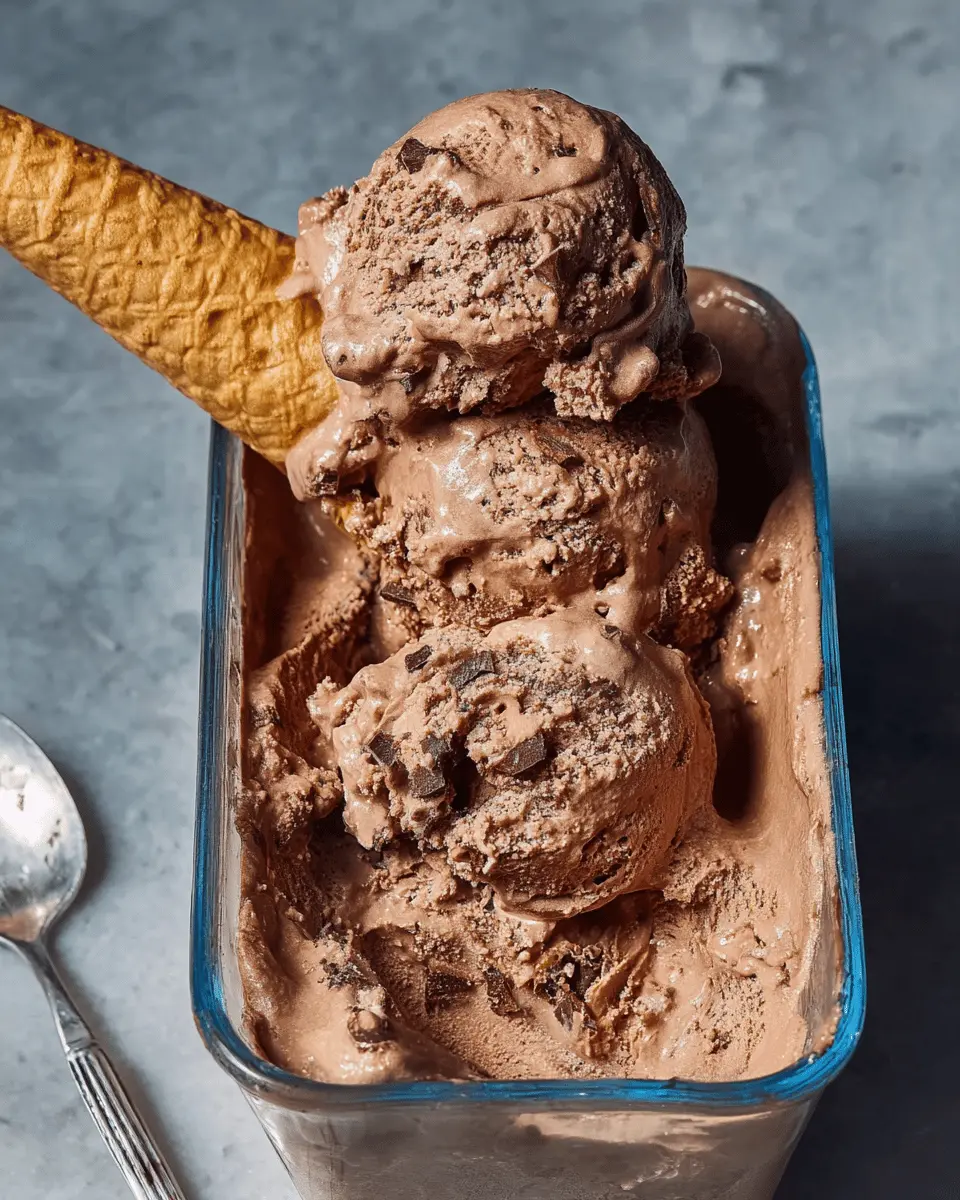
Introduction to No-Churn Chocolate Ice Cream
Why Homemade Ice Cream is a Game Changer for Chocolate Lovers
If you're a chocolate lover, making your own no-churn chocolate ice cream is an absolute game changer. Imagine having a creamy, rich dessert that you can whip up in just a few minutes, without the need for an ice cream maker. Homemade ice cream not only allows you to control the ingredients but also elevates your dessert experience. You can customize the flavors, sweetness, and even the texture to suit your preferences.
One of the greatest joys of preparing this no-churn chocolate ice cream is knowing exactly what goes into it. You can opt for high-quality cocoa and chocolate that suit your taste, and say goodbye to preservatives or artificial additives often found in store-bought varieties. Plus, with just a handful of ingredients like sweetened condensed milk, cocoa powder, and heavy cream, you’ll be amazed at how simple it is to create a show-stopping dessert.
And let’s not forget the satisfying feeling of sharing your homemade concoction with friends and family. Whether it's a cozy night in or a festive gathering, having a batch of this dreamy chocolate treat in your freezer is sure to impress! Feeling inspired? Let’s dive into the recipe that will make your chocolate dreams come true.
Essential Ingredients You'll Need for a Rich Chocolate Delight
To embark on your journey to creating delicious no-churn chocolate ice cream, you’ll need just a handful of essential ingredients. Don't fret—these are not only easy to find but also promise to deliver a creamy, decadent treat that's perfect for any occasion. Here’s your shopping list:
-
1 (14-ounce) can sweetened condensed milk: This is the base that gives your ice cream the perfect creamy sweetness.
-
½ cup unsweetened cocoa powder: Opt for high-quality cocoa for a robust chocolate flavor; brands like Valrhona or Ghirardelli are great choices.
-
1 teaspoon vanilla extract: A splash of vanilla elevates the overall flavor beautifully.
-
Pinch of table salt: This enhances the sweetness while balancing the chocolate notes.
-
2 cups heavy whipping cream, chilled: The colder the cream, the better it whips—so keep it in your fridge until you're ready!
-
6 ounces semisweet chocolate baking bars: Chopped and mixed in, these will add delightful little pockets of richness throughout your no-churn chocolate ice cream.
With these ingredients on hand, you're just moments away from a homemade chocolate bliss. Happy mixing! For more details on choosing quality cocoa and chocolate, check out Serious Eats.
Preparing No-Churn Chocolate Ice Cream
Making your own ice cream may sound like a daunting task, but with this no-churn chocolate ice cream recipe, you'll find it's as easy as pie (or should we say ice cream?). With just a few basic ingredients and a little bit of time, you can create a rich, creamy dessert that will impress friends and family. Let’s walk through the steps together!
Gather your ingredients
To get started, you’ll need to collect all of your ingredients. Here's what you'll need:
- 1 (14-ounce) can sweetened condensed milk
- ½ cup unsweetened cocoa powder
- 1 teaspoon vanilla extract
- A pinch of table salt
- 2 cups heavy whipping cream, chilled
- 6 ounces semisweet chocolate baking bars, chopped
Having everything at hand makes the process seamless, and it allows you to jump right in without interruptions.
Combine the base ingredients
In a large bowl, whisk together the sweetened condensed milk, cocoa powder, vanilla extract, and a pinch of salt until smooth. This should take about 30 seconds. The combination of these ingredients creates a sweet, chocolatey base that’s pure indulgence. For more tips on selecting high-quality cocoa powder, check out resources like Serious Eats.
Whip the cream to perfection
Now comes the fun part! In another bowl, use an electric mixer fitted with a whisk attachment to whip the heavy cream on high speed until stiff peaks form. This should take about 2 minutes. It’s crucial that your cream is chilled beforehand; this ensures it will whip up beautifully fluffy.
Fold in the whipped cream
Once your cream is ready, gently fold in one-third of it into the chocolate mixture. This initial folding lightens the base, making it easier to incorporate the rest of the whipped cream without losing that precious airiness. Continue folding until no streaks remain, but be careful not to deflate the cream.
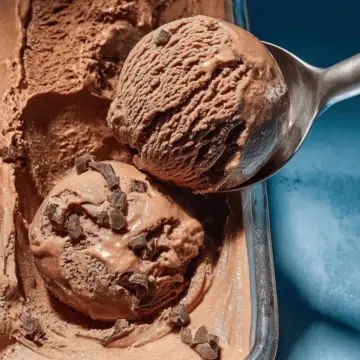
Add the chocolate chunks
It's time to intensify the chocolate flavor! Carefully fold in the chopped semisweet chocolate. This will give your ice cream delightful pockets of gooeyness that will melt in your mouth.
Transfer and freeze
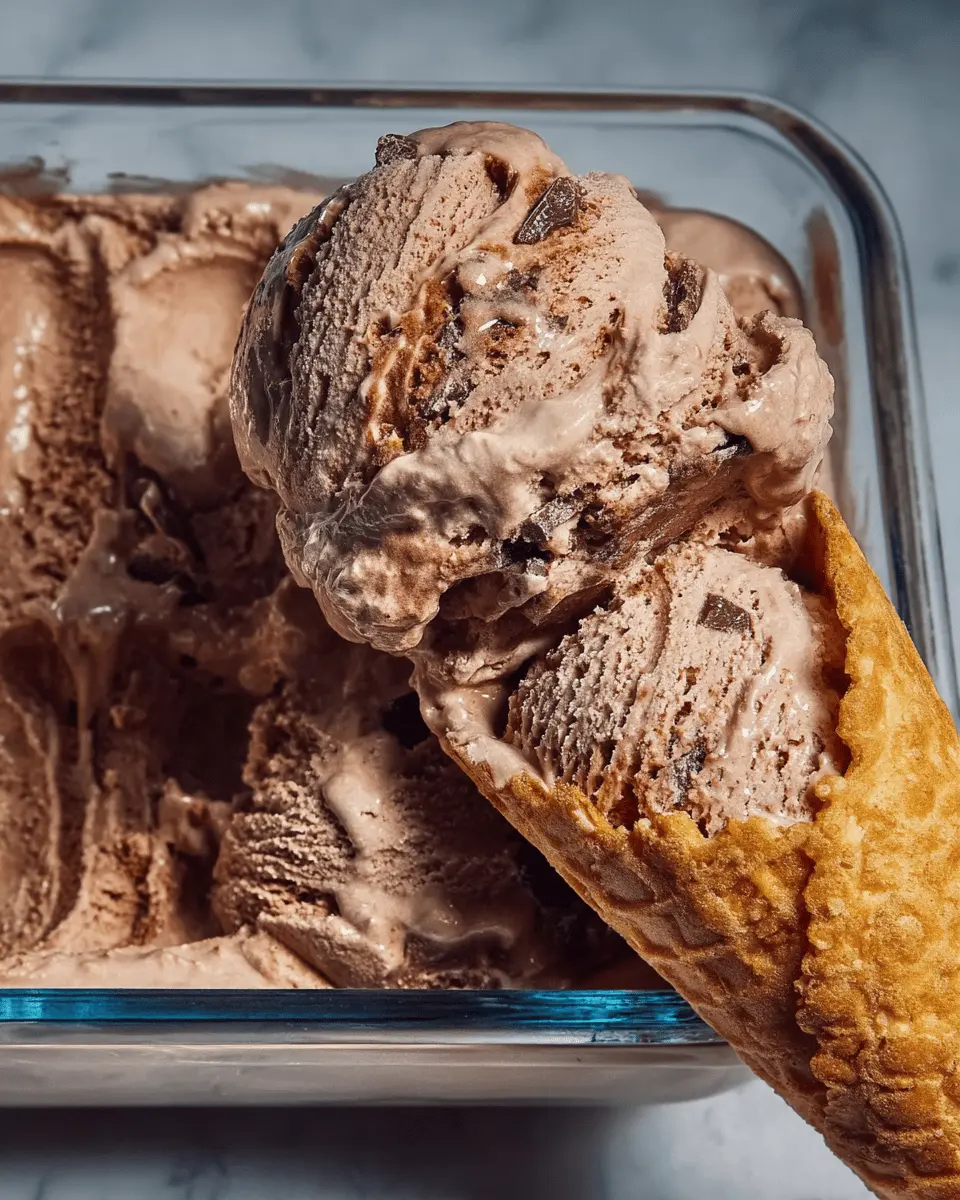
Transfer your luscious chocolate mixture into a 9-x-5 inch loaf pan. Cover it loosely with plastic wrap before placing it in the freezer. Now comes the hardest part: waiting. Freeze the mixture for at least 3 hours, although letting it sit for up to 12 hours will yield the best texture. When it’s time to serve, simply remove the ice cream from the freezer and let it sit for about 5 minutes for easier scooping.
And there you have it! You’ve just made your own no-churn chocolate ice cream. It’s perfect for entertaining or simply indulging on a warm evening. Enjoy your delicious creation!
Variations on No-Churn Chocolate Ice Cream
Mint Chocolate Chip Twist
Give your no-churn chocolate ice cream a refreshing spin by adding mint. Simply mix in a few drops of peppermint extract and fold in mini chocolate chips right before you transfer the mixture to the freezer. This minty version is perfect for a summer treat or when you're craving something extra special. You can even garnish each scoop with fresh mint leaves for an elegant touch!
Espresso-Infused Chocolate Ice Cream
For a delightful pick-me-up, try adding espresso to your no-churn chocolate ice cream. Dissolve 1-2 tablespoons of instant espresso powder in a tablespoon of hot water and mix it into the condensed milk mixture. This not only enhances the chocolate flavor but also gives you that perfect coffee kick. Pair it with a dollop of whipped cream on top for the ultimate indulgence.
Feel free to explore other flavors like almond or hazelnut—your ice cream adventure knows no bounds!
Cooking Tips and Notes for No-Churn Chocolate Ice Cream
Choosing the Right Cocoa Powder and Chocolate
When making no-churn chocolate ice cream, the quality of your ingredients is crucial. Look for high-quality unsweetened cocoa powder and semisweet chocolate, like Guittard or Ghirardelli. A rich cocoa will enhance the chocolate flavor, while the chocolate bars add delightful texture. For an extra depth of flavor, consider using dark chocolate!
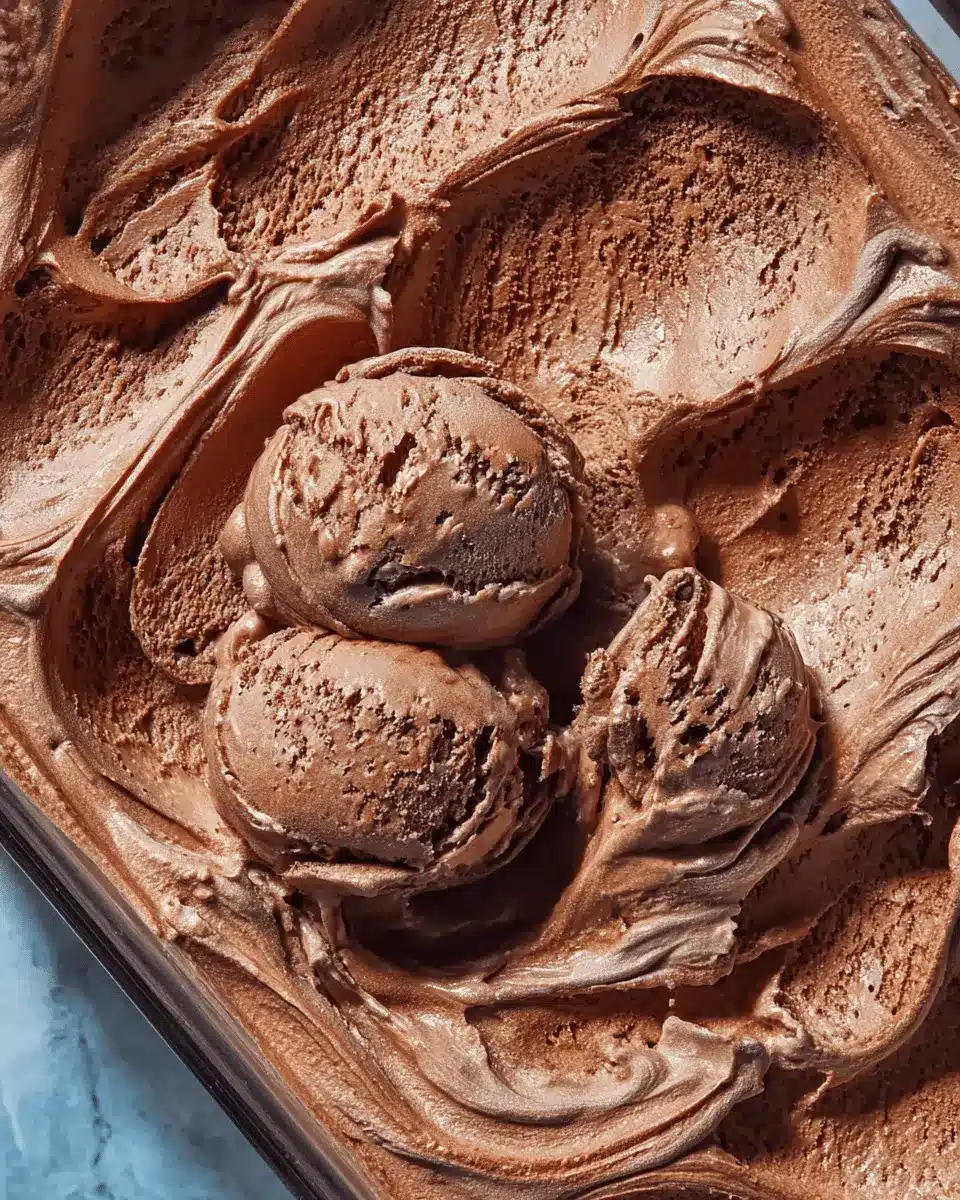
Tips for Perfect Texture and Flavor
To achieve that creamy, dreamy texture, keep your heavy whipping cream chilled right up to the moment you whip it. This ensures it reaches the stiff peaks needed for a light ice cream. When folding the whipped cream into the condensed milk mixture, use a gentle hand—this helps maintain that airy consistency. And patience is key: for the best flavor and texture, freeze for at least three hours, but let it rest for a full 12 hours if you can. Your taste buds will thank you!
Serving suggestions for No-Churn Chocolate Ice Cream
Creative ways to enjoy your ice cream
Once your no-churn chocolate ice cream is ready, the fun begins! Here are some creative ways to elevate your ice cream experience:
-
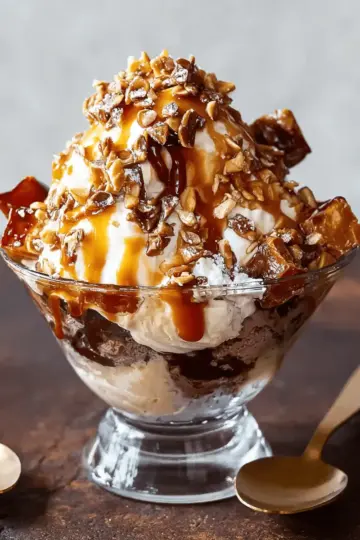
Sundae Style: Drizzle with warm fudge sauce and top with fresh berries for a delightful contrast of flavors. A sprinkle of chopped nuts can add a nice crunch.
-
Ice Cream Sandwiches: Scoop generous amounts between two cookies—try chocolate chip or even oatmeal for a fantastic twist.
-
Floats: Combine with your favorite cola or soda for a refreshing dessert float. The bubbles and chocolate are a match made in heaven!
-
Homemade Milkshake: Blend the ice cream with milk to create a luscious milkshake—perfect for those late-night cravings.
Feel free to mix and match these ideas or create your own! For more inspiration, check out resources like The Kitchn or Serious Eats. Enjoy crafting your unique flavor combinations!
Time Breakdown for No-Churn Chocolate Ice Cream
Planning a delicious treat? Here’s how the timing breaks down for this no-churn chocolate ice cream.
Preparation Time
The prep phase is a breeze! It takes only 10 minutes to whip up your ingredients and create that velvety mixture. So set your kitchen timer—it’s time to get going!
Freezing Time
Patience pays off here. After preparation, you’ll need to freeze the mixture for at least 3 hours. For the best texture, consider letting it freeze for up to 12 hours.
Total Time
All in all, you’re looking at roughly 3 hours and 15 minutes from start to finish. Just a little waiting, and you'll have a dessert that's sure to wow your guests!
Want to learn more about crafting perfectly creamy treats? Check out this guide.
Nutritional Facts for No-Churn Chocolate Ice Cream
Calories
One generous serving of this delightful no-churn chocolate ice cream contains approximately 300 calories. It's a sweet escape without the guilt, but keep in mind that those calories can add up quickly with extra helpings!
Sugar Content
Each serving packs around 25 grams of sugar. While this contributes to its luscious sweetness, be mindful of your overall sugar intake—moderation is key when enjoying this indulgent treat.
Serving Size
This recipe yields about 10 servings, perfect for sharing at gatherings or keeping all to yourself for a week of delightful desserts. Remember, it’s always more fun to enjoy things together, so why not invite a friend over to savor the experience?
For more information on balanced dessert options, check out resources like Nutrition.gov to help guide your choices. Enjoy your no-churn creations!
FAQs about No-Churn Chocolate Ice Cream
Can I use low-fat ingredients for a healthier version?
Absolutely! You can substitute heavy whipping cream for a lighter option like half-and-half or whipped coconut cream. Just keep in mind that the texture and richness may vary. For the sweetened condensed milk, consider using a light or fat-free version to cut some calories without sacrificing too much flavor. Check out this guide on healthier ice cream alternatives for more inspiration!
How long can I store no-churn ice cream in the freezer?
You can keep your no-churn chocolate ice cream in an airtight container for up to one month. However, it’s best enjoyed within the first couple of weeks for optimal taste and texture. After that time, the ice cream may begin to develop ice crystals, affecting its creaminess. So, gather your friends and family quickly to enjoy this delicious treat!
What if I don't have an electric mixer?
No worries! If you don’t have an electric mixer, you can still make this dreamy ice cream using a whisk and some elbow grease. It might take a little longer to whip the cream by hand, but it’s definitely doable. Whisk vigorously until you achieve stiff peaks. Just remember to fold gently to preserve that light, airy texture! Want tips on hand-whipping? Check out this tutorial for a pro-like technique.
Conclusion on No-Churn Chocolate Ice Cream
Indulging in this no-churn chocolate ice cream is a delightful experience that’s surprisingly easy to make. With just a few ingredients and minimal effort, you’ll create a creamy, decadent treat that impresses friends and family. Serve it at parties or enjoy it solo—either way, you won’t regret it! For tips on pairing flavors, check out this guide from Bon Appétit.
No-Churn Chocolate Ice Cream: The Indulgent Treat You’ll Love
Equipment
- electric mixer
Ingredients
Chocolate Ice Cream Base
- 1 can (14-ounce) sweetened condensed milk
- ½ cup unsweetened cocoa powder (about 1 ⅝ ounces)
- 1 teaspoon vanilla extract
- a pinch table salt
- 2 cups heavy whipping cream chilled
- 6 ounces semisweet chocolate baking bars (chopped)
Instructions
Preparation Steps
- Whisk together condensed milk, cocoa powder, vanilla, and salt in a large bowl until smooth, about 30 seconds.
- Beat cream with an electric mixer fitted with a whisk attachment on high speed until stiff peaks form, about 2 minutes.
- Gently fold in one-third of whipped cream into condensed milk mixture.
- Working in batches, fold remaining whipped cream into condensed milk mixture until no streaks remain, being careful not to deflate cream.
- Fold in chopped chocolate until evenly distributed.
- Transfer mixture to a 9- x 5-inch loaf pan, and cover loosely with plastic wrap.
- Place in the freezer, and freeze until firm, at least 3 hours or up to 12 hours.
- Remove from freezer 5 minutes before serving.
- Store ice cream in an airtight container in freezer for up to 1 month.

Leave a Reply