
Introduction to Watermelon Mochi
What is Watermelon Mochi and why should you try making it?
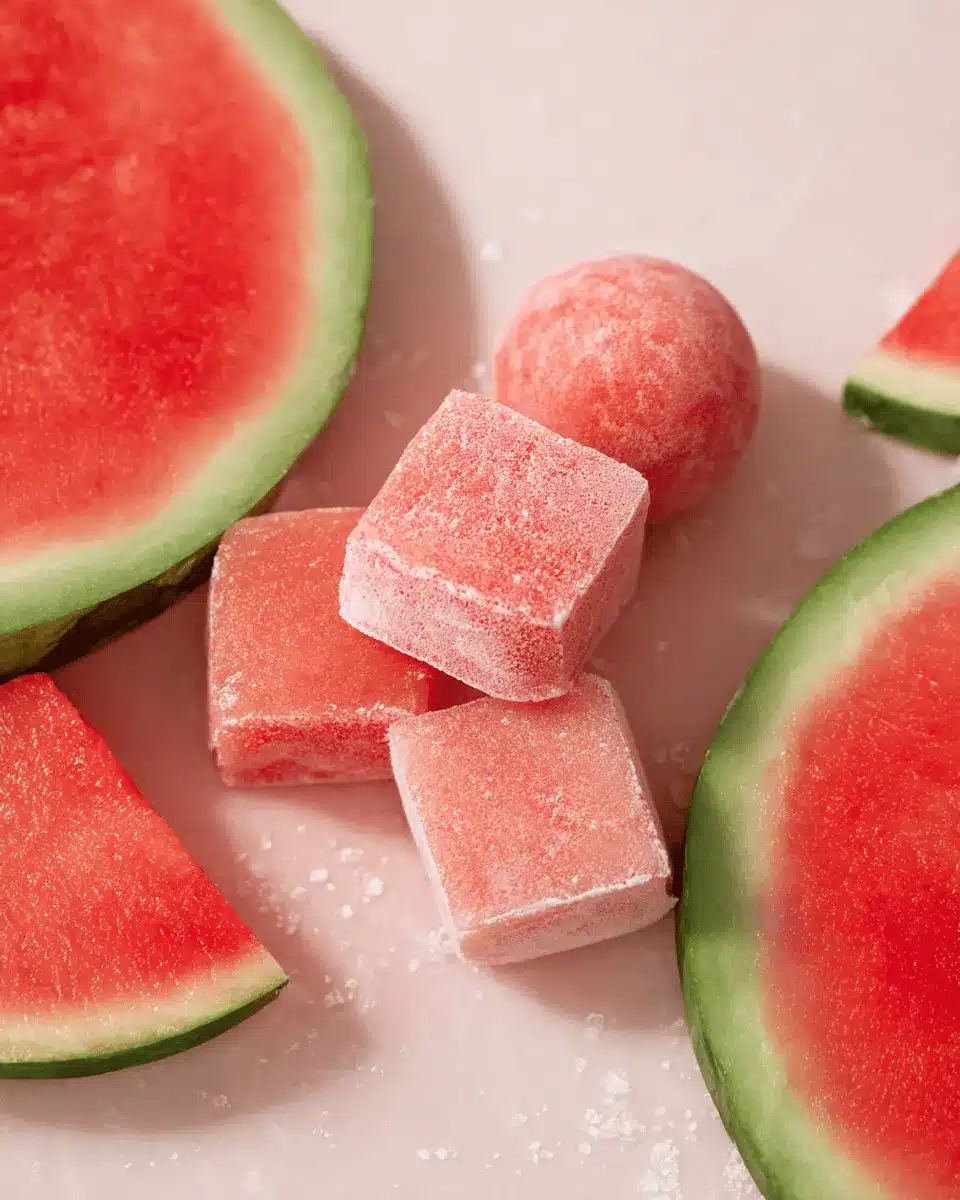
Watermelon mochi is a delightful twist on the traditional Japanese treat. At its core, mochi is a chewy, glutinous rice cake made from glutinous rice flour, but adding watermelon juice takes it to a whole new level of refreshing goodness. The sweetness of the watermelon infuses the mochi, creating a vibrant pink treat that's not just visually appealing but also bursts with flavor.
So why should you give watermelon mochi a try? For one, it’s a fun and interactive way to explore a beloved Asian dessert. Making mochi at home allows you to customize flavors to your heart’s content, and who doesn’t love a sweet, chewy snack? It’s perfect for warm summer days, brunches with friends, or even as a casual dessert for a cozy movie night. Plus, it’s gluten-free, making it suitable for a variety of dietary needs.
If you’re curious about unique treats, don't miss out on exploring more about the art of mochi-making. Whether paired with fresh fruit or enjoyed on its own, this enchanting dessert is worth the effort. Ready to give it a go? Let’s dive into the recipe!
Ingredients for Watermelon Mochi
Making watermelon mochi at home is an enjoyable and rewarding process. Before you dive into the recipe, let’s gather all the essential ingredients that you'll need to create this delicious treat.
Essential ingredients for your homemade watermelon mochi
To whip up your very own watermelon mochi, you’ll need the following key ingredients:
- Glutinous rice flour (200g or 1 ½ cups): This is the base of your mochi and gives it that signature chewy texture.
- Granulated sugar (65g or ⅓ cup): A bit of sweetness to enhance the natural flavor of watermelon.
- Cornstarch (40g or ⅓ cup): This helps to keep the mochi from sticking to surfaces during preparation.
- Watermelon juice (240ml or 1 cup): Fresh, strained juice adds not only flavor but also a beautiful pink hue.
- Vegetable oil (1 ½ tbsp): Helps to create a smooth consistency and prevents sticking.
With these simple, yet flavorful components, you are well on your way to delighting your taste buds with homemade watermelon mochi! For tips on choosing the best watermelon, check out this handy guide on selecting fruit from Healthline. Happy cooking!
Step-by-Step Preparation of Watermelon Mochi
Making watermelon mochi is a delightful way to combine the sweetness of fresh watermelon with the chewy texture of mochi. This process may seem a bit intricate, but don’t worry! Follow this step-by-step guide, and you’ll be enjoying your homemade treats in no time.
Prepare the watermelon juice
First things first, you need the star ingredient: fresh watermelon juice. To create this, simply cut your watermelon into chunks, place them in a blender, and blitz until smooth. Once blended, strain the juice through a fine mesh sieve to get rid of any pulp. This step ensures a smooth consistency in your mochi. You can also check out this guide on how to make fruit juices for tips on maximizing flavor!!
Combine the dry ingredients
Next, grab a medium-sized bowl and combine the dry ingredients. Measure out 200g of glutinous rice flour, 65g of granulated sugar, and 40g of corn starch. Whisk them together until everything is evenly mixed. This combination is what gives your watermelon mochi its incredible texture, so don't skip this!
Make the mochi batter
Now, it’s time to bring it all together. Add the freshly strained watermelon juice and 1 ½ tablespoons of vegetable oil to the dry mix. Using a whisk, stir until the batter is completely smooth. It should have a slightly thick consistency—almost like pancake batter! Feel free to add a pinch of salt for extra flavor.
Cook the mochi mixture
Heat a deep frypan or saucepan over medium heat, and pour in your mochi mixture. Stir constantly for about 5–8 minutes, as the mixture cooks. You’re looking for it to thicken and achieve a dark pink translucent color—this is when the magic happens! The consistency should be very sticky, ensuring that perfect chewiness later.
Mold and cool the mochi
Once you see that shine and thickness, remove the pan from heat. Next, prepare a 12cm x 12cm square mold lined with parchment paper, or any small rectangular container you have on hand. Pour the warm mixture into the mold, pressing it down with a spatula to create an even layer. Then, let it cool in the fridge for 1–2 hours until slightly firm to the touch.
Cut and dust the mochi pieces
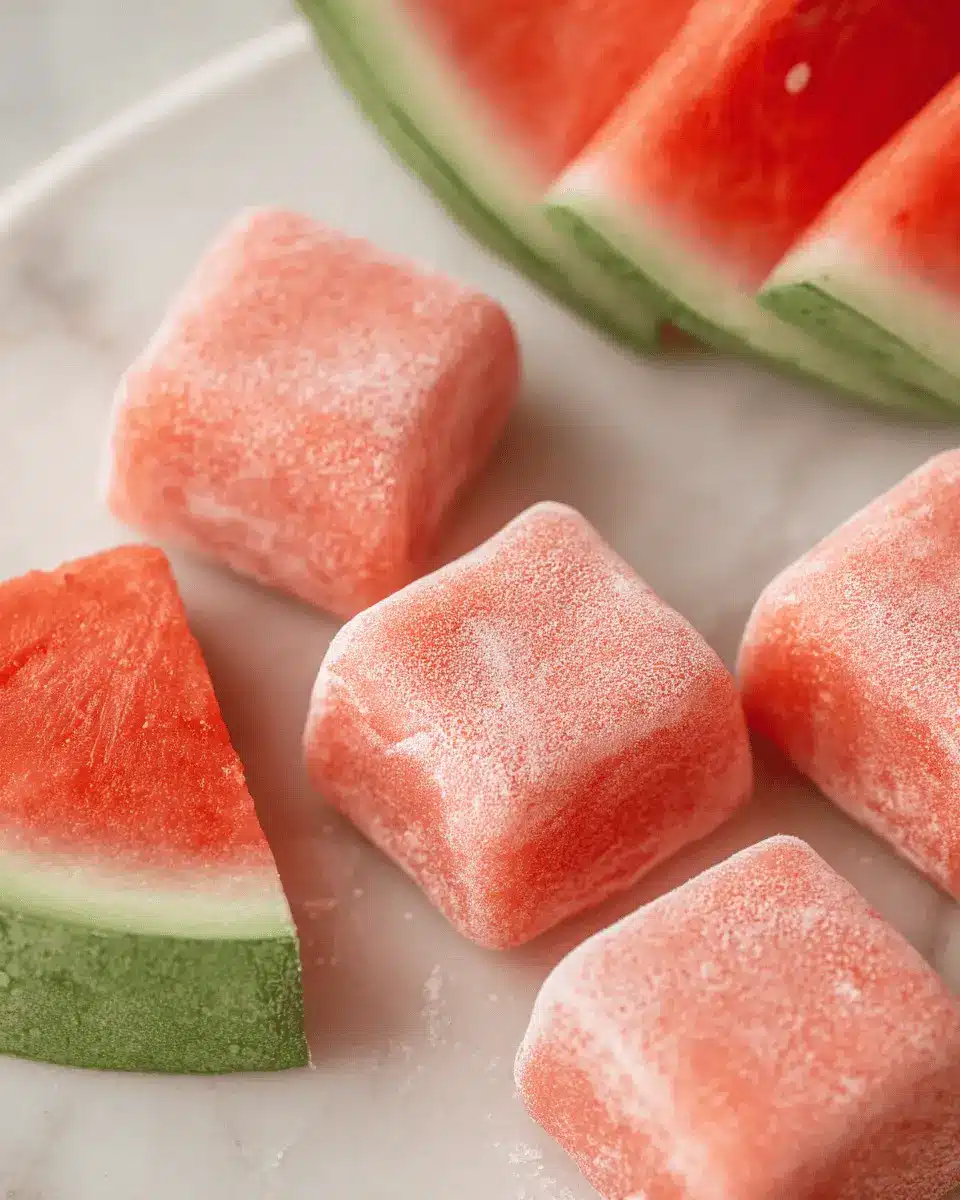
After cooling, dust your work surface generously with cornstarch. Carefully remove the mochi from the mold and place it on the dusted surface. Dust the top with more cornstarch to prevent sticking. Using an oiled knife, cut the mochi into 12 delightful pieces. Finally, dust all sides of each piece to keep them from sticking together.
And voila, your watermelon mochi is ready to be enjoyed! Perfect for summertime or whenever you crave something sweet and chewy. Don’t hesitate to share your creations on social media and let your friends know how simple it is to make this delicious treat!
Variations of Watermelon Mochi
Creating watermelon mochi is just the beginning of your mochi-making adventure! Here are some delightful variations to consider:
Other fruit-filled mochis to try
While watermelon shines bright, other fruits can elevate your mochi game. Consider:
- Mango: Sweet and tropical, mango-filled mochi is a vibrant treat.
- Strawberry: Juicy strawberries offer a delightful burst of flavor that pairs perfectly with the chewy mochi.
- Matcha: For a savory twist, add matcha powder to your mochi dough and fill it with sweet red bean paste for a unique fusion.
Vegan options for mochi enthusiasts
If you’re looking for vegan mochi options, the base of glutinous rice flour and water is already plant-based! Substitute the granulated sugar with coconut sugar or agave syrup to enhance sweetness without compromising your diet. You can also fill your mochi with coconut cream or fruit purées for a creamy, satisfying treat.
Feeling inspired? Dive into the world of mochi and experiment with flavors that resonate with you! For more inspiration, check out this guide on creative mochi fillings.
Cooking Tips and Notes for Watermelon Mochi
Key tips for perfect texture and flavor
To achieve the most delightful texture and vivid flavor in your watermelon mochi, consider these expert tips:
-
Use Fresh Watermelon: For the best taste, choose a ripe watermelon. The fresher the fruit, the more vibrant your juicing will be. Always strain the juice thoroughly to avoid pulp in your mochi.
-
Monitor Cooking Time: Keep a close eye while heating the mixture. Stir consistently and cook just until it thickens to a sticky consistency. Overcooking can lead to tough mochi.
-
Use Cornstarch Generously: Dusting your work surface and the pieces after cutting with cornstarch helps prevent sticking and adds a pleasant texture.
For more detailed techniques and variations, check out Serious Eats for expert insights on mochi preparation. Enjoy creating this delightful, chewy treat!
Serving Suggestions for Watermelon Mochi
Pairing Ideas and Presentation Tips
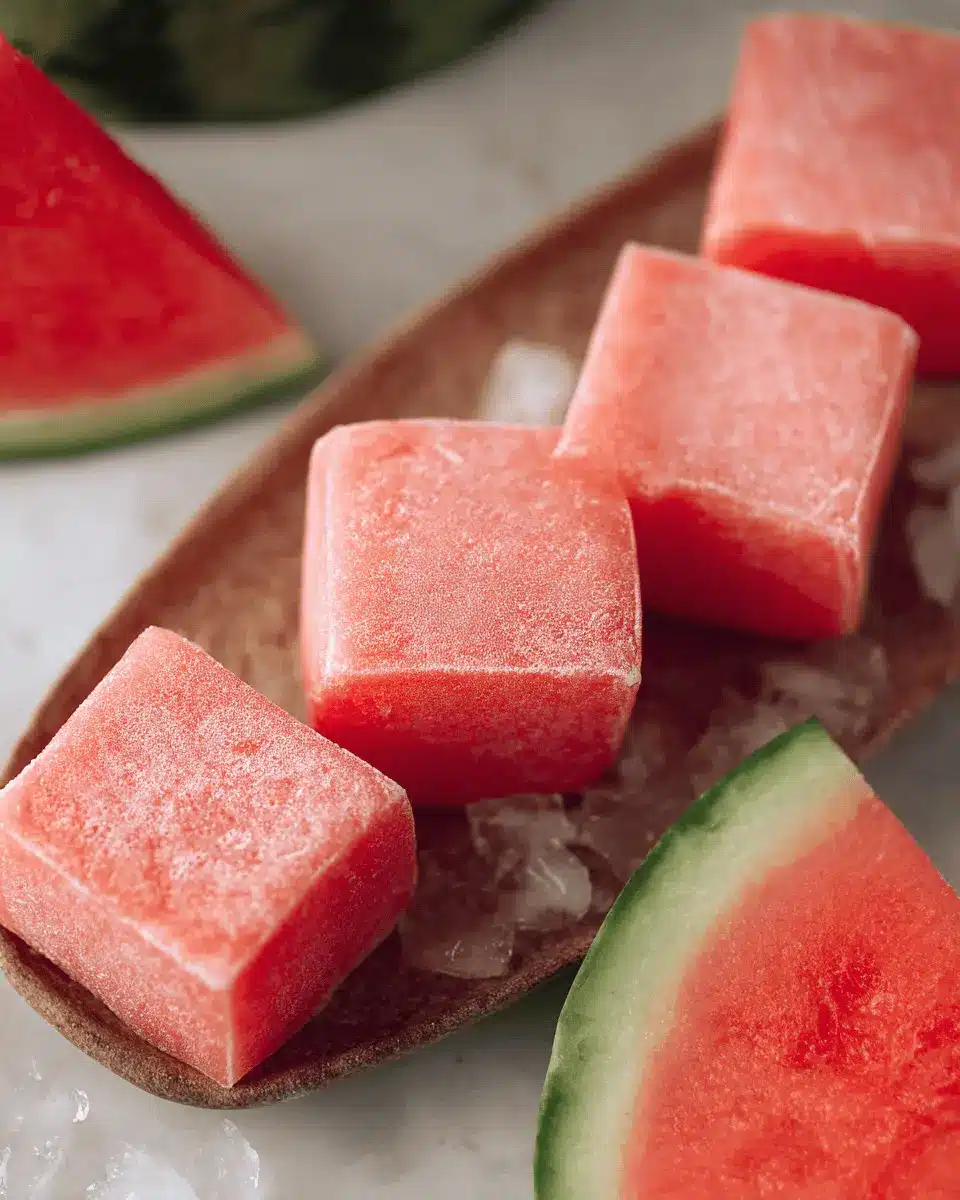
Watermelon mochi is a delightful treat that pairs wonderfully with various accompaniments. For a refreshing twist, consider serving it alongside coconut ice cream. The creaminess of the ice cream complements the chewy texture of the mochi beautifully.
You can also drizzle a bit of sweetened condensed milk over the mochi for added richness. To enhance the visual appeal, plate your watermelon mochi on a colorful platter, garnished with fresh mint leaves or edible flowers.
For a unique pairing, why not try it with a chilled green tea for a delightful balance of flavors? These simple additions provide an elevated experience, perfect for gatherings or a quiet night in!
Time Breakdown for Making Watermelon Mochi
For those eager to whip up delightful watermelon mochi, understanding the time commitment can help you plan your day better. Here’s a quick breakdown:
Preparation Time
Get ready to dive into the fun! It takes about 15 minutes to prepare your ingredients and mix everything together.
Cooking Time
You’ll spend approximately 8 minutes cooking the mochi mixture until it achieves that perfect, sticky consistency.
Cooling Time
Once cooked, be sure to chill your mochi in the fridge for 1-2 hours. This step is crucial to get the desired texture before cutting them into pieces!
By organizing your time, you'll be enjoying delicious watermelon mochi in no time! For more tips and fun variations, check out Serious Eats or The Kitchn for more delicious ideas.
Nutritional Facts for Watermelon Mochi
When you indulge in watermelon mochi, it's good to know what you're enjoying! Here’s a quick overview:
- Calories: Each piece of watermelon mochi contains approximately 70 calories.
- Protein: This treat is low in protein, offering about 1 gram per piece.
- Sugar content: With around 10 grams of sugar, watermelon mochi satisfies your sweet cravings while maintaining a fruity freshness.
If you're curious about the health benefits of watermelon, check out this insightful article on Healthline. Enjoy your delightful bites of watermelon mochi guilt-free!
FAQs about Watermelon Mochi
Can I use different fruits for my mochi?
Absolutely! While our recipe features refreshing watermelon, you can experiment with any number of fruits. Consider using mango, strawberry, or even matcha for a unique flavor twist. Just remember to adjust the liquid content accordingly—juicier fruits may require less liquid for the mochi mixture. For more fruit inspiration, check out this guide on seasonal fruits.
How long does watermelon mochi last?
Homemade watermelon mochi typically lasts about 3-5 days when stored in an airtight container in the fridge. For the best texture and taste, enjoy them fresh, but if you have leftovers, they can be surprisingly good chilled!
What can I serve with my watermelon mochi?
Pair your watermelon mochi with a light fruit salad or a scoop of coconut ice cream for a delightful contrast in textures and flavors. You could also serve them alongside a cup of herbal tea to balance the sweetness. This makes for an elegant dessert, perfect for gatherings!
Conclusion on Watermelon Mochi
Making watermelon mochi at home is a delightful experience that combines creativity and flavor. This recipe not only lets you savor a refreshing treat but also connects you to the joy of crafting something unique. Share with friends and enjoy a burst of summer vibes anytime!
The Joy of Making and Enjoying Watermelon Mochi at Home
Creating watermelon mochi can be an enjoyable activity, whether you're cooking solo or sharing the experience with friends or family. The vibrant color and unique texture of this dessert are sure to impress anyone who tries it. Plus, the surprisingly simple process allows you to explore your culinary skills while indulging in a fruity, chewy delight.
If you're seeking inspiration or new variations, consider experimenting with different fruit juices or fillings. The versatility of mochi means you can tailor it to suit your taste! Explore more about the history and cultural significance of mochi at Serious Eats to appreciate this beautiful dessert even more.
Incorporating watermelon mochi into your gatherings or casual snack times is a fantastic way to elevate your dessert game. So grab that glutinous rice flour and let’s get rolling!
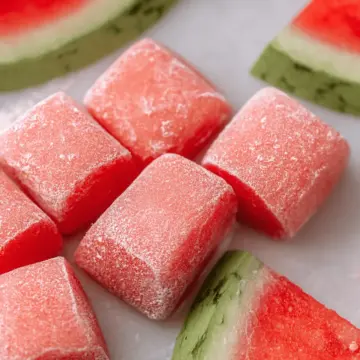
Watermelon Mochi
Equipment
- blender
- Fine mesh sieve
- Bowl
- Deep frypan or saucepan
- spatula
- Parchment paper
- Square mold
Ingredients
Dry Ingredients
- 200 g Glutinous rice flour
- 65 g Granulated sugar
- 40 g Corn starch
Liquid Ingredients
- 240 ml Watermelon juice, strained
- 1.5 tablespoon Vegetable oil
Instructions
Preparation
- To make the watermelon juice place watermelon flesh in a blender and blitz until smooth, then pass through a fine mesh sieve to remove any pulp
- Combine the glutinous rice flour, sugar, and cornstarch in a bowl
- Add the watermelon juice and oil, and whisk until smooth
Cooking
- Heat a deep frypan or saucepan over medium heat and add the mochi mixture
- Heat, stirring consistently, for 5-8 minutes, or until the mochi mixture thickens and changes into a dark pink translucent color (the mixture should be very sticky)
- Remove from the heat
- Prepare a 12cm x 12 cm square mold and line it with parchment paper, if you don’t have that size any small rectangular container should work
- Pour the warm mochi into the lined mold and press it down with the spatula to flatten it
- Place the mochi in the fridge to cool for 1-2 hours, or until slightly firmed up
- Dust your work surface with cornstarch
- Remove the mochi from the mold and place it on the dusted surface
- Dust the top of the mochi with more cornflour and cut it into 12 pieces of mochi with an oiled knife
- Separate the pieces and dust all sides of the mochi with cornflour
- Enjoy!

Leave a Reply