
Introduction to Raspberry Crumble Bars
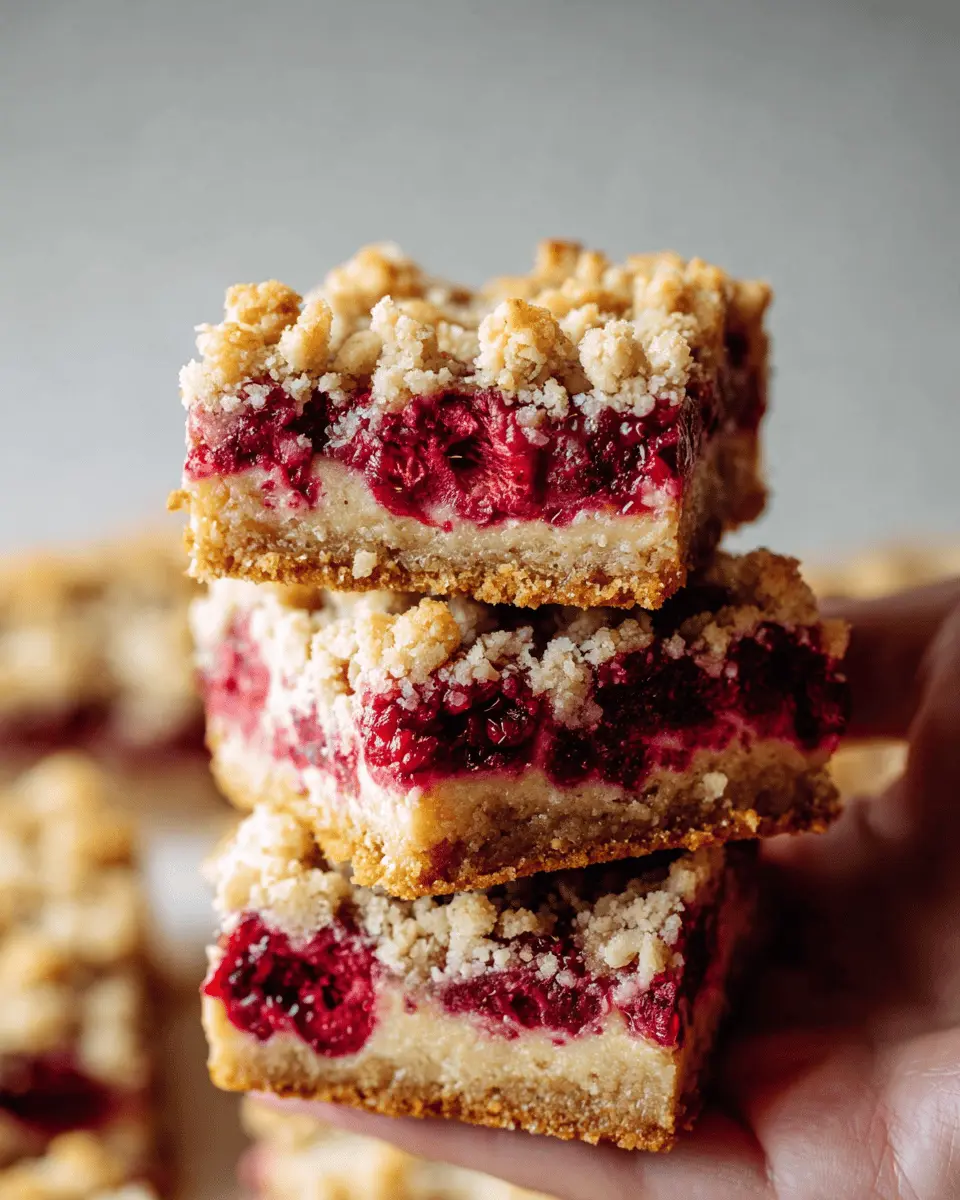
Raspberry crumble bars are a delightful treat that effortlessly combines sweet and tart flavors with a comforting, crumbly texture. Whether you're hosting a gathering or simply looking for a satisfying dessert, these bars offer the perfect solution. They're easy to prepare and sure to impress friends and family, making them ideal for bake sales or afternoon snacks.
One of the best parts about making raspberry crumble bars is the versatility they offer. You can use frozen raspberries, which are generally available year-round, or fresh ones when in season. This means you can whip up a batch any time you're craving something fruity and sweet. According to a study from the USDA, incorporating fruits like raspberries into your diet can increase your intake of essential vitamins and antioxidants — fancy a guilt-free indulgence?
Not to mention, the crumble layer made of oats and brown sugar provides a delightful crunch that complements the soft raspberry filling perfectly. If you’re wondering what to do with that extra scoop of vanilla ice cream sitting in your freezer, serving it on top of these raspberry crumble bars will elevate your dessert experience! So, let’s dive into this easy, mouthwatering recipe and get those ovens preheated!
Ingredients for Raspberry Crumble Bars
Fresh vs. Frozen Raspberries
When it comes to making your delicious raspberry crumble bars, you have the choice between fresh and frozen raspberries. Fresh raspberries can offer a vibrant flavor, but they often come with a steeper price tag and tend to be juicier, which can make the bars a bit messy. On the other hand, frozen raspberries are more budget-friendly, and once thawed and drained properly, they yield the perfect consistency. Plus, they are available year-round! If you’re interested in nutritional benefits of raspberries, check out this USDA overview for more information on their health benefits.
Essential Ingredients for the Crumble Layer
The crumble layer is what makes these raspberry bars truly exceptional. Here's what you’ll need:
- Rolled oats (3 cups) for that chewy texture.
- Flour (3 cups) provides the base structure.
- Brown sugar (2 cups, loosely packed) lends the bars their rich sweetness.
- Baking powder (1 teaspoon) ensures a light, crumbly texture.
- Melted butter (1 ½ cups, salted preferred) binds everything together and adds flavor.
- Salt (½ teaspoon) to balance the sweetness.
These ingredients combine to create the perfect topping over your sweet raspberry filling. Enjoy crafting these amazing raspberry crumble bars!
Step-by-step Preparation for Raspberry Crumble Bars
Preparing raspberry crumble bars isn't just about following a recipe—it's an opportunity to engage with your ingredients and create something deliciously satisfying. Each step builds on the previous one, so let's dive into the details and make sure you find success in the kitchen!
Prepare the Raspberry Filling
To kick things off, the first step is to prepare the raspberry filling. This key layer of sweetness is what makes these bars truly shine. Begin by preheating your oven to 350 degrees. Then, take your frozen raspberries and rinse them gently in warm water through a colander. Allow them to drain for about an hour until they are softened and most of the liquid has escaped. This step is crucial—having overly wet raspberries can result in a soggy bar.
Once drained, combine the raspberries with:
- ½ cup granulated sugar (adjust based on your taste)
- 2 tablespoons flour
- 1 tablespoon cornstarch
- Juice of one lemon
Gently mix until the raspberries are coated, and set aside as you work on the crumble layer.
Create the Crumble Layer
Now, let's make that irresistible crumble that sandwiches our raspberry filling. In a large bowl, mix together:
- 3 cups rolled oats
- 3 cups flour
- 2 cups lightly packed brown sugar
- 1 teaspoon baking powder
- ½ teaspoon salt
Next, stir in 1 ½ cups of melted butter (opt for salted for an extra flavor boost!). This mixture should feel somewhat crumbly. Take about two-thirds of this mixture and press it firmly into the bottom of a greased 9x13 pan lined with parchment paper. Bake this layer for about 10 minutes, just until it begins to set—this creates a sturdy base for your raspberry crumble bars.
Combine and Bake
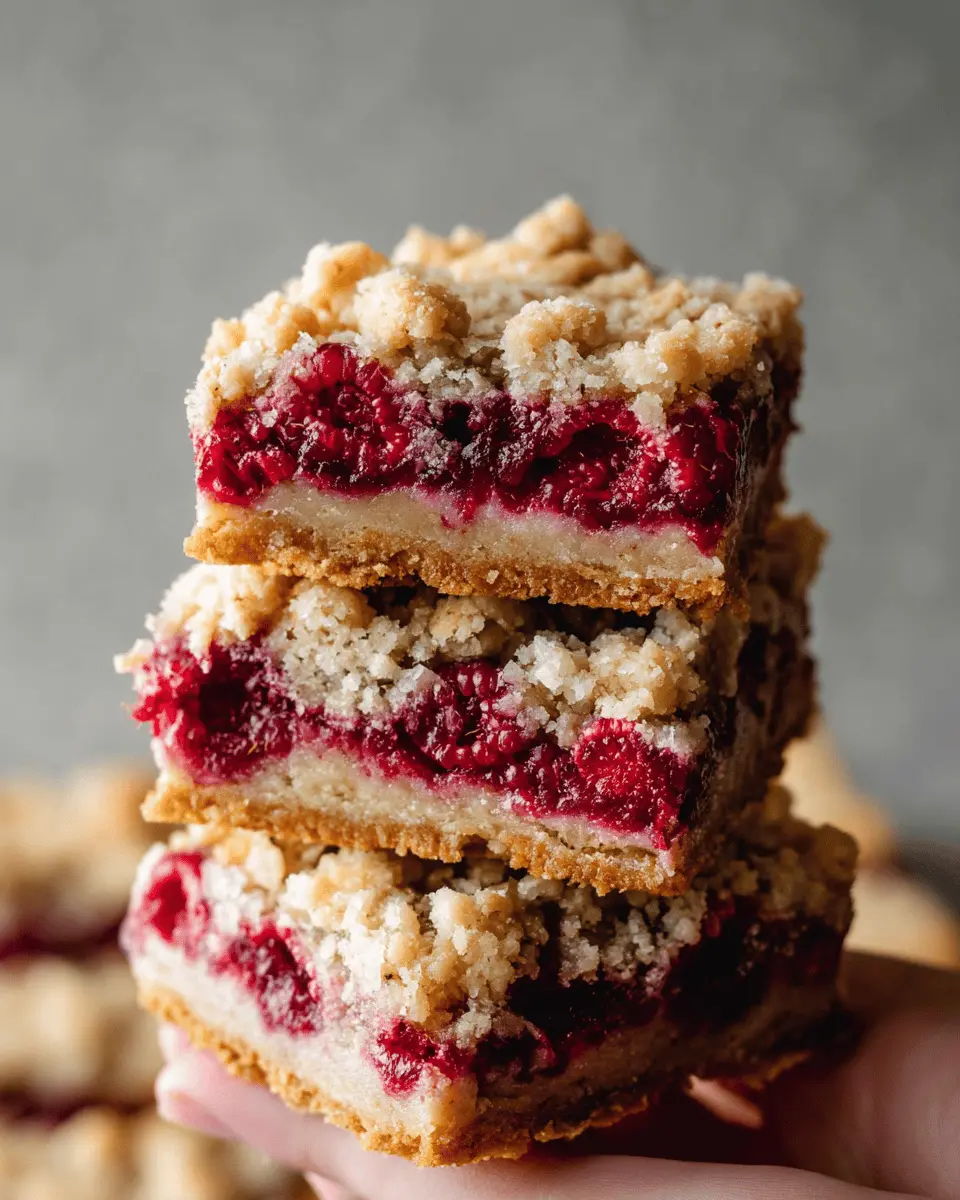
After your crust has had a moment in the oven, it’s time to layer on the raspberry filling. Spread the raspberry mixture evenly on top of your baked crust, and then sprinkle the remaining crumble mixture over the top. Don’t skimp on this layer, as it adds a delightful crunch! Bake everything together for another 25-30 minutes, until the topping is golden brown and the raspberries are bubbling slightly.
Let the Bars Cool and Set
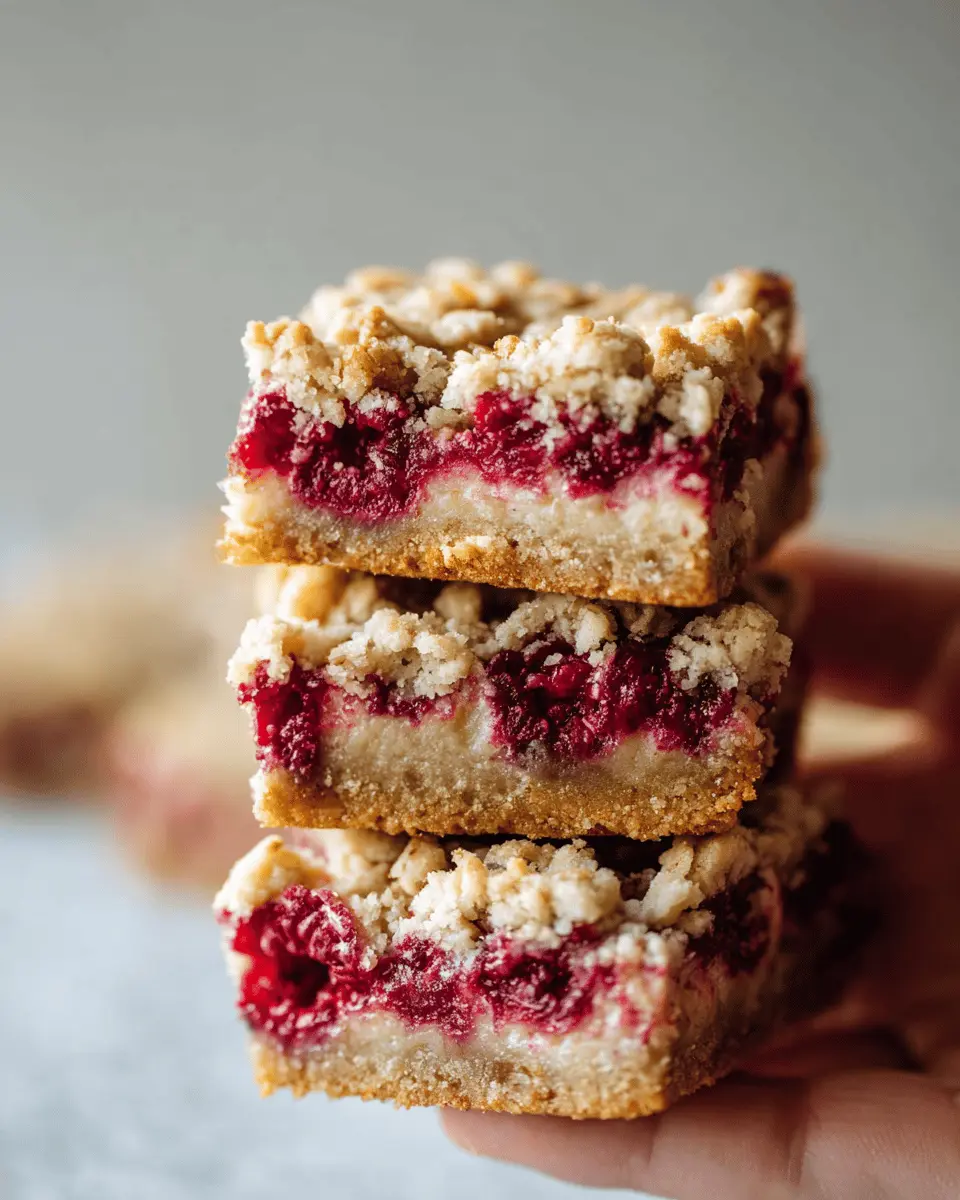
Once baked, resist the temptation to dive in immediately! Let them cool in the pan for a bit and then chill them in the refrigerator for a few hours. This cooling period helps the bars set nicely, making them easier to cut into perfect squares or rectangles. Trust me; the wait is worth it! You can enjoy them as a cold treat or slice them warm and serve with a scoop of vanilla ice cream for an elevated dessert experience.
With these well-structured steps, you'll be well on your way to creating a batch of delicious raspberry crumble bars that are sure to impress family and friends alike. Happy baking!
Variations on Raspberry Crumble Bars
Alternate Fruit Fillings
While raspberry crumble bars are a delightful treat, feel free to mix it up by swapping the raspberries for other fruits. Consider using blueberries, blackberries, or even diced apples for a different flavor profile. Seasonal fruits, like peaches or cherries, can also lend a refreshing twist. Each fruit brings its unique sweetness, so adjust the sugar accordingly to balance the tartness! For further inspiration, check out this fruit substitute guide.
Gluten-Free Options
Craving those raspberry crumble bars but need to stick to a gluten-free diet? No problem! Simply replace regular flour with your favorite gluten-free flour blend. Ensure the oats are certified gluten-free as well, and you’ll have a scrumptious dessert everyone can enjoy. Adding a touch of almond flour can enhance the flavor and texture too. Remember, baking is all about exploration, so don’t hesitate to experiment!
Cooking Tips and Notes for Raspberry Crumble Bars
Importance of Thawing Raspberries
When making raspberry crumble bars, thawing and draining the raspberries is crucial. This step prevents excess moisture from making your bars soggy. Place the frozen raspberries in a colander, rinse with warm water, and let them drain for at least an hour. For extra moisture control, gently squeeze them with your hands. While fresh raspberries can be tempting, they often yield a juicier filling, affecting the final texture. Check out this guide on thawing fruits for more tips!
How to Achieve the Perfect Crumble Texture
To get that ideal crumble texture for your bars, use old-fashioned rolled oats instead of quick oats. Mix the dry ingredients (oats, flour, and sugars) well before adding melted butter, ensuring an even distribution. When pressing the crumble into the pan, leave some chunks for a delightful texture. Don’t be afraid to let your raspberry crumble bars chill for a few hours; this will help them hold their shape beautifully when you cut into them. Enjoy the combination of tart and sweet while savoring that crunchy topping!
Serving Suggestions for Raspberry Crumble Bars
Pairing with Ice Cream or Yogurt
One of the best ways to elevate your raspberry crumble bars is by pairing them with a scoop of vanilla ice cream or a dollop of Greek yogurt. The creamy texture and subtle sweetness beautifully complement the tart raspberry filling. Want to jazz it up? Drizzle with some chocolate sauce or honey for an extra touch!
Perfect for Picnics and Potlucks
These raspberry crumble bars are a hit at any gathering, from picnics in the park to cozy potlucks. They're easy to pack and transport, and their delightful flavors will have everyone asking for the recipe. Serve them with refreshing drinks like iced tea or lemonade and watch them disappear. For more ideas on outdoor gatherings, explore this picnic guide for tips and tricks!
Time Breakdown for Raspberry Crumble Bars
Preparation Time
Expect to spend about 15-20 minutes prepping the ingredients for your raspberry crumble bars. This includes thawing the raspberries and mixing up your crumble layer.
Baking Time
The baking process will take around 35-40 minutes. First, the base layer bakes for about 10 minutes, followed by an additional 25-30 minutes after adding the raspberry filling.
Total Time
In total, you’re looking at approximately 1 hour for baking and prep, plus additional chill time of a few hours if you want those bars to set perfectly before serving.
Want to dive deeper into berry baking? Check out this guide on the benefits of using frozen fruits and see how they stack up against fresh options!
Nutritional Facts for Raspberry Crumble Bars
Calories
Each raspberry crumble bar contains approximately 250 calories, making them a delightful treat without going overboard. Perfect for satisfying those afternoon cravings!
Protein
With about 3 grams of protein per bar, these raspberry crumble bars can contribute to your daily intake, especially when enjoyed alongside a glass of milk or a scoop of yogurt.
Sugar
Each serving holds around 15 grams of sugar, a sweet indulgence that pairs perfectly with the tartness of the raspberries. If you're looking to balance flavors without sacrificing taste, consider adjusting the sugar based on the berries' natural sweetness.
Now that you've got the nutritional breakdown, let's dive back into the magic of baking these delicious raspberry crumble bars! Don't forget, sharing is caring—consider making an extra batch to share with friends or coworkers! If you want more tips on healthy baking, check out resources like the American Heart Association for guidance on sugar management and ingredient swaps.
FAQs about Raspberry Crumble Bars
Can I use fresh raspberries instead of frozen?
Absolutely! You can substitute fresh raspberries for frozen ones in these raspberry crumble bars. However, keep in mind that you'll need a whole lot of them, as fresh berries tend to be more expensive and quite juicy. Fresh raspberries will create a delicious, fruity layer, but be prepared for a potentially softer filling.
How do I store leftover bars?
To keep your raspberry crumble bars fresh, store them in an airtight container at room temperature for about 3 days. If you want them to last longer, consider refrigerating them. Just be sure to allow them to come back to room temperature before serving for that delightful, crumbly texture!
Can I make these bars ahead of time?
You bet! These bars are perfect for meal prep or entertaining. Prepare them a day or two in advance, and just let them chill in the fridge to help them set properly. This means less stress for you when it's time to serve up something delicious!
Conclusion on Raspberry Crumble Bars
In summary, these delightful raspberry crumble bars are not just a treat for the eyes but also for the taste buds. Their sweet and tangy filling paired with a buttery crumble creates a perfect dessert or snack. Whether you enjoy them warm or chilled, they're a crowd-pleaser worth making.

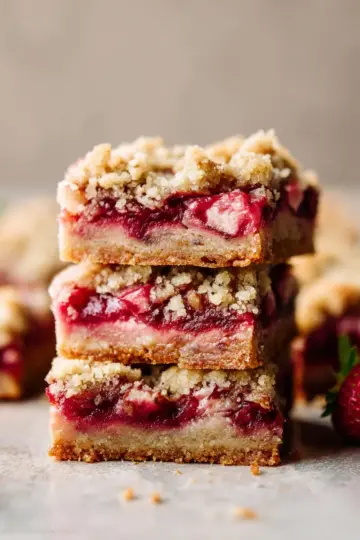
Raspberry Crumble Bars
Equipment
- Oven
- 9x13 inch pan
- large colander
- Mixing bowl
Ingredients
Raspberry Filling
- 24 ounces frozen raspberries (two 12-ounce bags)
- 0.5 cup granulated sugar (more depending on tartness of your berries)
- 2 tablespoons flour
- 1 tablespoon cornstarch
- 1 juice of lemon
Crumble Layer
- 3 cups rolled oats
- 3 cups flour
- 2 cups brown sugar (loosely packed)
- 1 teaspoon baking powder
- 1.5 cups melted butter (I prefer salted)
- 0.5 teaspoon salt
Instructions
Preparation
- Preheat the oven to 350 degrees. Place raspberries in a large colander. Run warm water over them for a minute, and then let the liquid drain out for about an hour until softened and thoroughly drained. Mix raspberries with sugar, flour, cornstarch, and lemon juice.
- Mix the oats, flour, sugar, baking powder, butter, and salt together into a crumble-like mixture. Press two thirds of the crumble into the bottom of a 9×13 pan lined with parchment paper. Bake for 10 minutes.
- Arrange the raspberry layer on top of the baked bottom layer. Sprinkle with remaining crumble. Bake for another 25-30 minutes.
- Remove from oven. They will need a little time to set up into bars, so chill them for a few hours to get them really solid. Alternatively, cut into it right away and eat it like a soft fruit crisp!

Leave a Reply