
Introduction to Hot Italian Sub Sliders
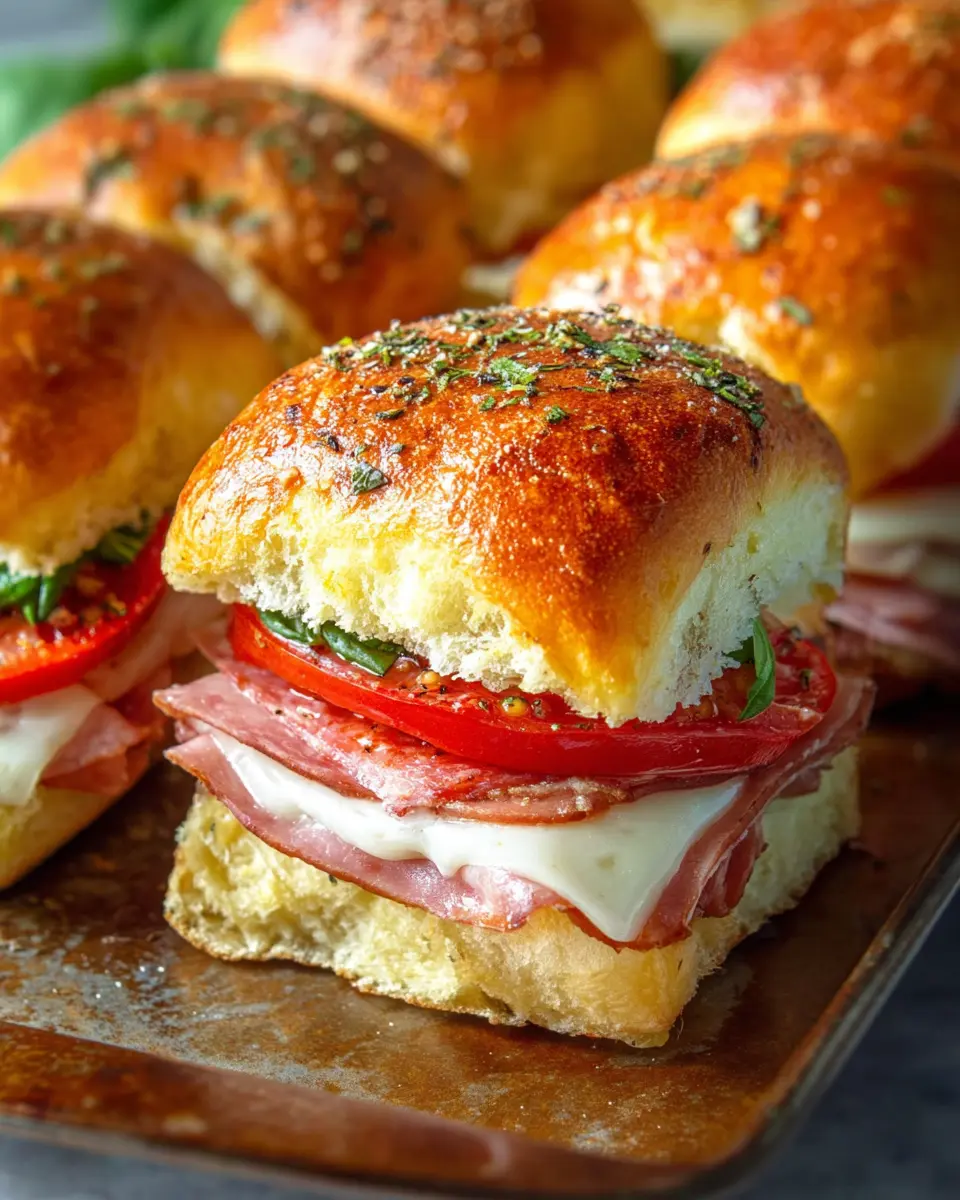
When it comes to comfort food, few dishes can compete with hot Italian sub sliders. These delightful little sandwiches pack a punch of flavor while being incredibly easy to whip up for any gathering. Their warm, melty cheese and flavorful meats are sure to satisfy cravings, whether you're hosting a game night or simply treating yourself after a long week.
What makes these sliders truly special is their versatility. You can easily customize them to your taste, swapping in your favorite ingredients or adding an extra kick with spicy peppers. Plus, with just a few minutes of prep time and minimal cooking, they fit perfectly into the busy lifestyles many of us lead.
Eating well doesn't have to be a chore, and these sliders prove that delicious meals can also be quick and simple. Did you know that according to a study by the USDA, meals prepared at home can have a significantly lower calorie count compared to restaurant food? By making these hot Italian sub sliders at home, you're not only feeding your cravings but also making a healthier choice.
Ready to dive in? Check out the full recipe for these amazing sliders to elevate your next meal!
Ingredients for Hot Italian Sub Sliders
If you're craving something deliciously satisfying, these hot Italian sub sliders are perfect for a game day snack or a quick weeknight dinner. Here's what you'll need to whip up this crowd-pleaser.
Essential Ingredients
- Slider Buns: 12 count Hawaiian rolls for that perfect sweet touch.
- Deli Meats: 12 slices of chicken ham and 12 slices of salami for rich flavors.
- Pepperoni: 12 large rounds that add a zesty kick.
- Cheese: 6 slices of provolone cheese, melting to perfection.
- Peppers:
- ½ cup roasted red pepper slices for a smoky sweetness.
- ½ cup banana peppers, sliced for a bit of tang.
- Butter Mixture: ¼ cup melted butter and 1 tablespoon of Italian seasoning, bringing it all together.
- Dipping Sauce: Marinara sauce, which takes these sliders to the next level.
These simple ingredients come together to create mouthwatering sliders that everyone will love. Make sure to gather them all before starting your culinary adventure. For more tips on selecting the best ingredients, check out this guide on fresh produce. Happy cooking!
Preparing Hot Italian Sub Sliders
Making hot Italian sub sliders is a fun and straightforward way to serve a delicious meal or snack for your friends and family. These delightful bites are perfect for game day, family gatherings, or simply enjoying a cozy night in. Let’s walk through the steps to prepare these irresistible sliders.
Preheat and Prepare the Slider Buns
First things first: you want to set your oven to 350°F (175°C) so it’s hot and ready for your sliders. While that’s heating up, go ahead and slice your 12 count of Hawaiian slider buns in half. This is a crucial step because it creates a cozy home for all those savory fillings. Place the bottom halves of the buns in a baking dish, making sure they’re snug and ready to hold the delicious layers to come.
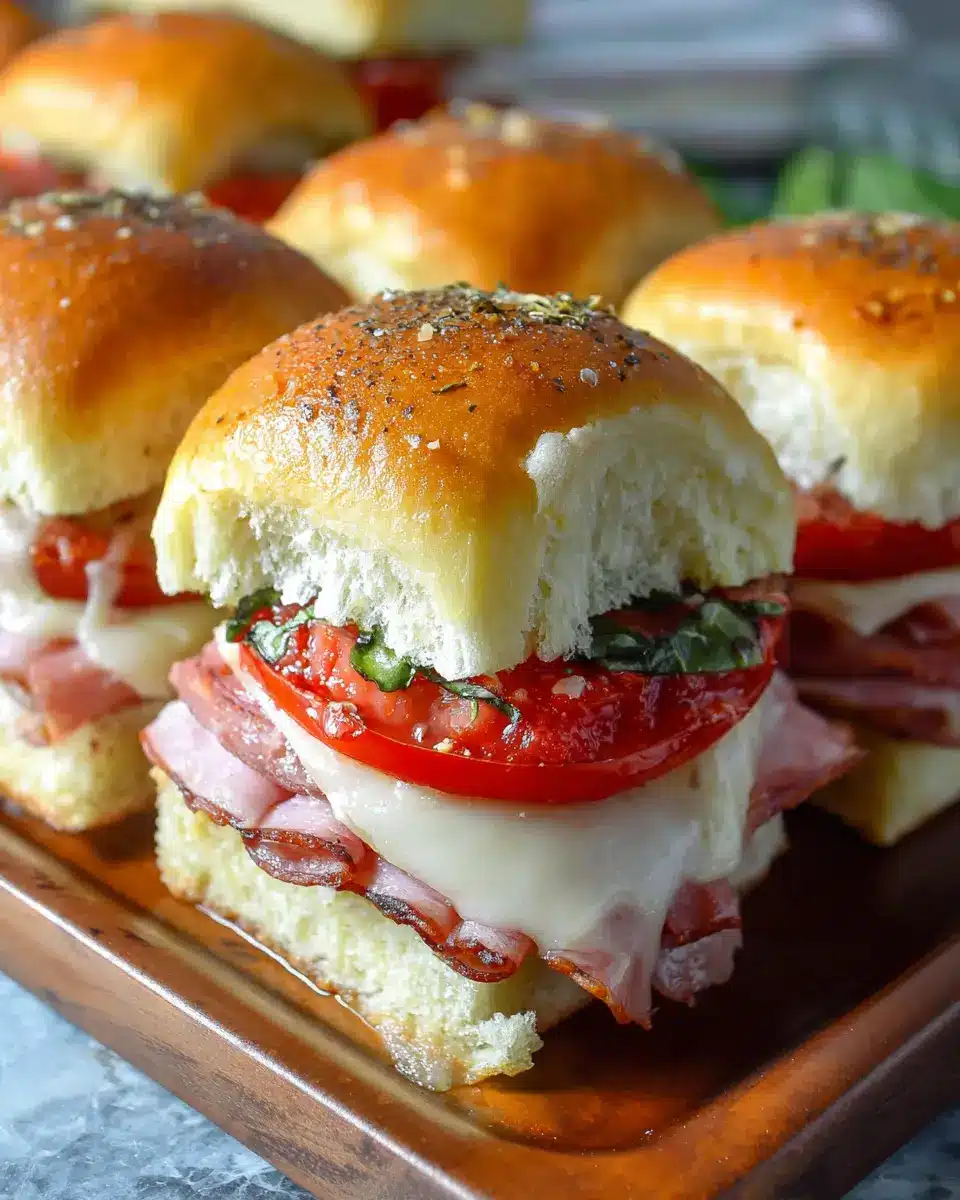
Layering the Meats and Cheese
Now, let’s get to the good stuff! Start layering your hot Italian sub sliders with the meats. Begin with 6 slices of chicken ham, followed by 6 slices of salami and 6 slices of large pepperoni rounds. Feel free to add your personal touch; these sliders are all about customization. To top it off, place 6 slices of provolone cheese over the meat layer. The gooey cheese is essential for binding the sliders, while offering a melty texture that everyone will love.
Adding the Peppers and Butter Mixture
Next up, sprinkle ½ cup of roasted red pepper slices and ½ cup of sliced banana peppers on top of the cheese. These add a delightful tangy and sweet flavor that balances perfectly with the savory meats. Now, in a small bowl, whisk together ¼ cup of melted butter and 1 tablespoon of Italian seasoning to create a flavorful mixture. This will not only add richness but also enhance the aroma when baked.
Assembling and Baking the Sliders
Carefully place the other half of the slider buns on top of your layered masterpiece. Then, brush the butter mixture generously over the top of the buns. This will give your sliders a golden-brown finish. Cover the baking dish with foil and place it in the preheated oven for 25–30 minutes. This step is crucial because it allows all those fantastic flavors to meld together and creates a nice, soft texture.
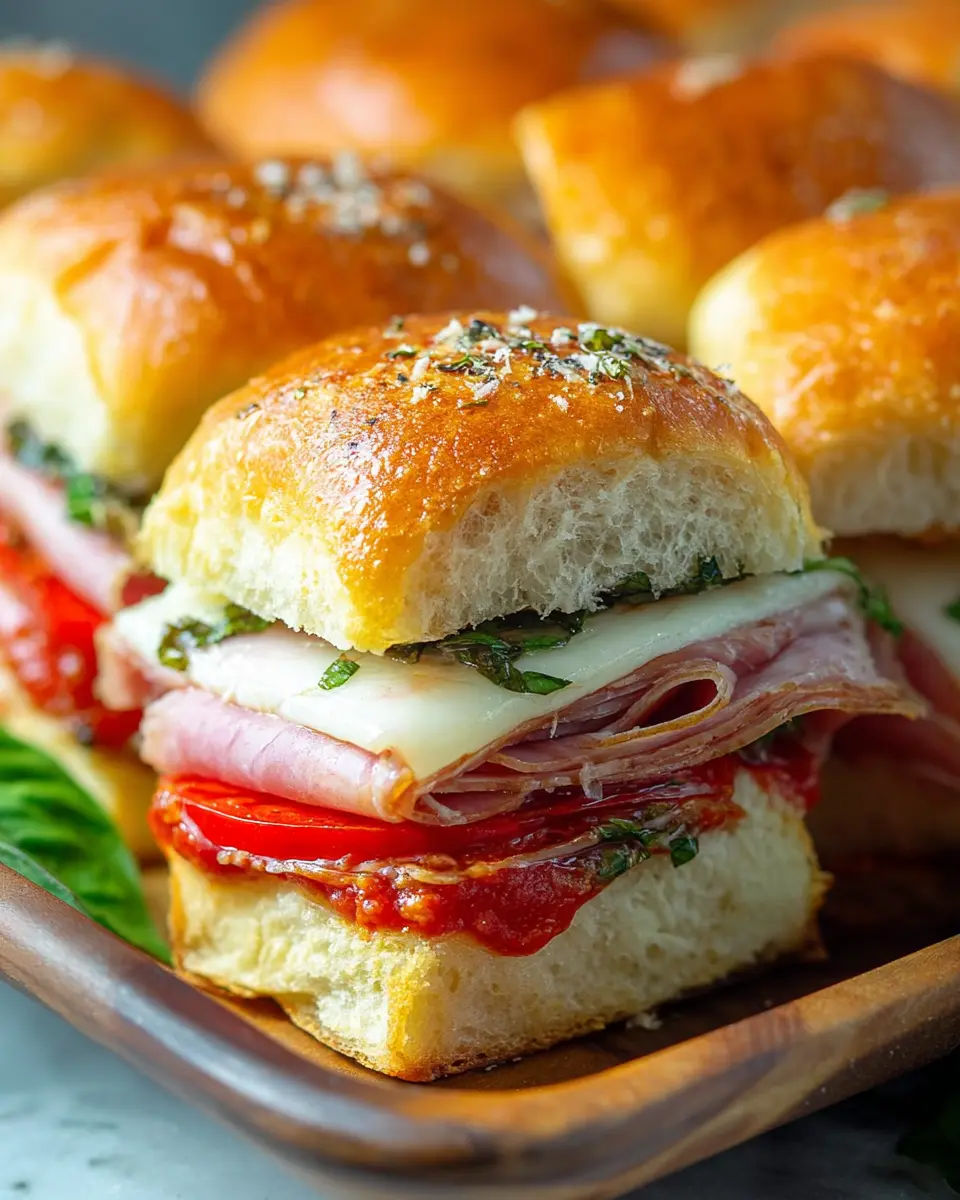
Finishing Touches Before Serving
Once your sliders are out of the oven, you can give them a last brush of the butter mixture for added flavor. Serve these hot Italian sub sliders with marinara sauce on the side for dipping. Trust me; your guests will be raving about them! And who can resist pulling apart a slider oozing with cheese and meat goodness?
Remember, cooking is all about fun and experimentation! Feel free to play around with your ingredients as you make these delicious sliders, and enjoy every bite.
Variations on Hot Italian Sub Sliders
When it comes to hot Italian sub sliders, the possibilities are endless! Here are two variations that can add a delightful twist to your slider experience.
Spicy Italian Sub Sliders with Jalapeños
For those who love a kick, consider adding sliced jalapeños to your hot Italian sub sliders. Just layer these spicy peppers alongside your usual fillings. They will transform your sliders into a fiery treat that’s perfect for game day or a casual get-together. Don't forget to offer some creamy ranch or blue cheese dressing on the side for a cooling contrast!
Vegetarian Hot Italian Sub Sliders
If you're catering to vegetarian guests, swap out the meats for a tasty medley of roasted veggies like zucchini, bell peppers, and eggplant. Layer these with fresh mozzarella and basil for a hot Italian sub slider that bursts with flavor and freshness. You can also drizzle a balsamic glaze for an extra touch that elevates these sliders from simple to spectacular.
Both variations are sure to be crowd-pleasers! Explore more creative ideas in the realm of slider-making with resources like The Spruce Eats or Food Network.
Cooking Tips and Notes for Hot Italian Sub Sliders
Creating mouthwatering hot Italian sub sliders at home is easier than you think! Here are some helpful tips to elevate your game:
-
Bun Choice: Opt for fresh, soft Hawaiian rolls for the best results. They add a subtle sweetness that complements the savory ingredients beautifully.
-
Layer Smart: Don't skimp on the layers! Ensure even distribution of chicken ham, salami, and pepperoni for every bite to be bursting with flavor.
-
Butter Brushing: For a golden, crispy top, generously brush the butter mixture over the buns before baking. Consider adding a sprinkle of garlic powder for an extra kick.
-
Customize: Love spice? Feel free to add jalapeños or extra banana peppers for a zesty twist!
-
Serve with Marinara: A side of warm marinara sauce not only makes for a delicious dip but can also boost moisture and flavor.
Looking for more tips? Check out Serious Eats for expert advice on slider variations!
Serving Suggestions for Hot Italian Sub Sliders
When you're ready to dive into those delicious hot Italian sub sliders, consider pairing them with some delightful sides. Here are a few ideas to elevate your meal:
- Chips or Fries: A classic pairing! Opt for baked potato wedges or crunchy kettle chips to add some texture.
- Salad: A light, fresh salad can balance the richness of the sliders. Try a simple arugula salad with cherry tomatoes and a lemon vinaigrette.
- Dipping Sauces: Marinara is fantastic, but don’t shy away from trying pesto or a spicy aioli. Each sauce adds a unique flavor twist!
Feel free to mix and match! Your favorites can turn this simple dish into an impressive spread for friends or family gatherings. For more inspiration, check out the guidelines on food pairings from Food Network.
Time Breakdown for Hot Italian Sub Sliders
Preparation time
Get ready for those delicious hot Italian sub sliders! You’ll need about 15 minutes to gather your ingredients, slice your buns, and layer everything just right.
Cooking time
Next, pop your sliders in the oven for about 25-30 minutes. This is when the magic happens—melted cheese and savory flavors mingle perfectly.
Total time
In just under an hour, you’ll have a warm and hearty dish ready to impress your friends or family. Now, who’s ready for a taste experience with these tasty sub sliders? For more cooking tips, check out this time management guide.
In case you’d like to explore additional culinary tips and tricks, I recommend visiting the National Institute of Food and Agriculture. They offer a wealth of resources that can elevate your cooking skills! Enjoy crafting your hot Italian sub sliders!
Nutritional Facts for Hot Italian Sub Sliders
Understanding the nutritional profile of your favorite dishes is key to making informed choices. Here’s a quick glance at the nutritional facts for our delightful hot Italian sub sliders.
Calories
Each slider contains approximately 350 calories. This makes them a hearty option for a fulfilling meal or a festive party snack without completely derailing your daily caloric intake.
Protein
Packed with protein, these sliders provide about 18 grams per serving, thanks to the combination of chicken ham, beef, and provolone cheese. A protein boost is especially great for busy professionals looking to maintain energy levels throughout the day!
Sodium
Keep an eye on sodium intake; these hot Italian sub sliders can contain around 900 milligrams of sodium each. It’s advisable to balance your meal with fresh veggies or a light side salad to offset this.
If you're interested in exploring more about nutritional values, consider checking out resources like the USDA FoodData Central for comprehensive information. Eating well doesn’t have to be complicated; understanding what’s in your food takes the guesswork out of meal planning. Enjoy those sliders responsibly!
FAQs about Hot Italian Sub Sliders
Can I make these sliders ahead of time?
Absolutely! You can prepare the hot Italian sub sliders in advance by assembling the layers of meats, cheese, and veggies in the slider buns. Just cover them with foil and refrigerate until you're ready to bake. When it's time to enjoy, pop them in the oven at 350°F for about 25-30 minutes. It’s a fantastic way to save time, especially for gatherings or busy weeknights!
What can I serve with Hot Italian Sub Sliders?
These sliders are versatile and pair beautifully with various sides. Consider serving them with:
- Fresh salad (like a classic Caesar or a tangy caprese)
- Crispy potato wedges or sweet potato fries
- A warm bowl of marinara or garlic dipping sauce for an extra kick
Mix it up, and you’ll have a delightful spread that your guests will love!
How do I store leftovers?
If you find yourself with any hot Italian sub sliders left over, don’t worry! Simply place them in an airtight container in the fridge. They can be reheated in the oven or microwave when you're ready to enjoy them again. For best results, consume within 2-3 days to keep the flavors fresh and delicious. Want to learn more about safe food storage? Check out the USDA's Food Safety guidelines.
Conclusion on Hot Italian Sub Sliders
In closing, these hot italian sub sliders are a delightful addition to any gathering. They're easy to prepare and perfect for sharing with friends. Try them with a side salad or crispy fries for a complete meal. Enjoy the rich flavors, and don’t forget to dip in marinara for that extra touch!

Hot Italian Sub Sliders
Equipment
- baking dish
- Small bowl
Ingredients
Meats and Cheese
- 12 count slider buns Hawaiian rolls
- 12 slices ham
- 12 slices salami
- 12 slices pepperoni large rounds
- 6 slices provolone cheese
Vegetables
- ½ cup roasted red peppers slices
- ½ cup banana peppers sliced
Seasoning and Sauce
- ¼ cup butter
- 1 Tbs Italian seasoning
- Marinara sauce for dipping
Instructions
Preparation
- Preheat oven to 350. Slice your slider buns in half, place bottom of buns in a baking dish, layer your ham, salami, pepperoni and provolone over the top.
- Sprinkle with roasted red peppers and banana peppers.
- In small bowl whisk together butter and Italian seasoning.
- Place your other half of slider buns in top.
- Brush on top of buns with butter mixture.
- Cover with tinfoil and bake in oven for 25-30 minutes.
- Remove from oven and brush with more butter if desired.


Leave a Reply