
Introduction to Red Velvet Cheesecake Cake
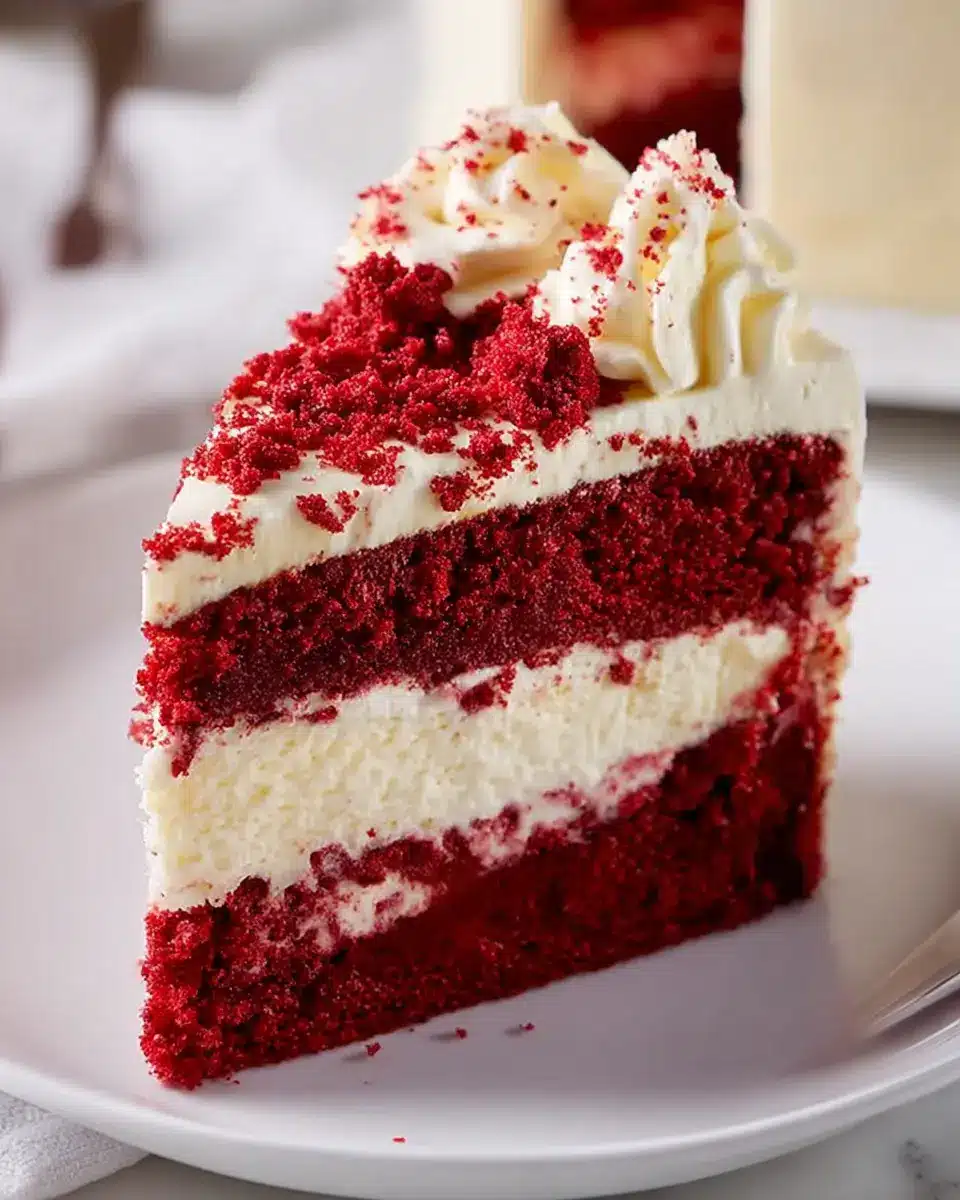
If you’re looking for a show-stopping dessert that combines the beauty of red velvet with the creamy richness of cheesecake, then the red velvet cheesecake cake is your answer! This delightful treat perfectly marries two beloved desserts, making it ideal for celebrations, gatherings, or simply indulging yourself after a long week.
Why Choose a Red Velvet Cheesecake Cake?
Imagine slicing into a layer of moist, velvety cake that gives way to a rich, creamy cheesecake layer. What’s not to love? The vibrant, eye-catching color of the red velvet cake adds a festive touch, while the cheesecake layer brings a luxurious finish that will impress your friends and family.
Plus, it’s surprisingly approachable for home bakers! With a little patience and some simple ingredients, you can whip up this decadent dessert that speaks volumes about your baking skills. Did you know that red velvet cake has a history dating back to the 1800s? It’s a classic that has stood the test of time and continues to be a favorite at celebrations.
For those who appreciate a cake that’s as delicious as it is stunning, you’ll want to dive into this recipe and create your own red velvet cheesecake cake masterpiece. Let's get started!
Ingredients for Red Velvet Cheesecake Cake
When it comes to impressing your friends at your next gathering, nothing does the trick quite like a red velvet cheesecake cake. With its striking colors and rich flavors, this dessert is sure to steal the show! Below are the essential ingredients you’ll need to bring this beauty to life.
For the Red Velvet Layers
- Butter (for greasing cake pans)
- All-purpose flour (for dusting cake pans)
- 1 box red velvet cake mix, plus the ingredients it calls for on the box
For the Cheesecake Layer
- 2 packages (8 oz. each) cream cheese, softened
- ⅔ cup granulated sugar
- 2 large eggs
- ⅓ cup sour cream
- 1 Tbsp. all-purpose flour
- 1 tsp. pure vanilla extract
- ¼ tsp. kosher salt
For the Cream Cheese Frosting
- 2 packages (8 oz. each) cream cheese, softened
- ½ cup (1 stick) butter, softened
- 2 ¼ cups powdered sugar
- 1 tsp. pure vanilla extract
By preparing these ingredients ahead of time, you can ensure a smooth baking process. If you're curious about variations or tips for using fresh ingredients, check out this article on cake substitutions to elevate your baking game!
Preparing Red Velvet Cheesecake Cake
Preheat the oven and prepare the cake pans
Start by preheating your oven to 350ºF. While that’s heating up, it’s time to show some love to your cake pans! Grease two 9-inch round cake pans with butter and lightly dust them with all-purpose flour to prevent sticking. This simple step ensures that our gorgeous red velvet cheesecake cake comes out easily and maintains its beautiful shape. Get all your ingredients lined up, including the red velvet cake mix, as per the box instructions. This is going to be a fun baking adventure!
Bake the red velvet layers
Once your oven is preheated, divide the prepared cake batter evenly between your two cake pans. Bake those beauties for about 30 to 32 minutes, or until a toothpick inserted in the center comes out clean. You’ll know they are done when they spring back lightly when touched. After they finish baking, let them cool for a few minutes in the pans before transferring to a wire rack. And here’s a little tip: don’t forget to level the tops of the cakes with a serrated knife once completely cool. Save those scraps for decoration later!
Make the cheesecake layer
Now, let’s focus on that luscious cheesecake layer! Line a 9-inch springform pan with parchment paper and spray it with a cooking spray. In a large mixing bowl, beat together two packages of softened cream cheese with granulated sugar until fluffy—this should take about 3 minutes. Add the eggs one at a time, then stir in the sour cream, flour, vanilla extract, and a touch of kosher salt until everything is perfectly combined.
Bake and cool the cheesecake layer
Pour this creamy mixture into your prepared springform pan and bake for about an hour, or until the center is only slightly jiggly. Once baked, give it some time to cool in the pan, then transfer it to the freezer. Cooling this layer is key; it will firm up beautifully, making it easier to assemble the layers of your red velvet cheesecake cake.
Prepare the cream cheese frosting
While your cheesecake cools, whip up the cream cheese frosting! Beat together two packages of softened cream cheese and half a cup of butter until light and fluffy. Gradually add in the powdered sugar and a splash of vanilla extract, mixing until fully combined. This heavenly frosting will tie the flavors of your cake together perfectly.
Assemble the cake layers
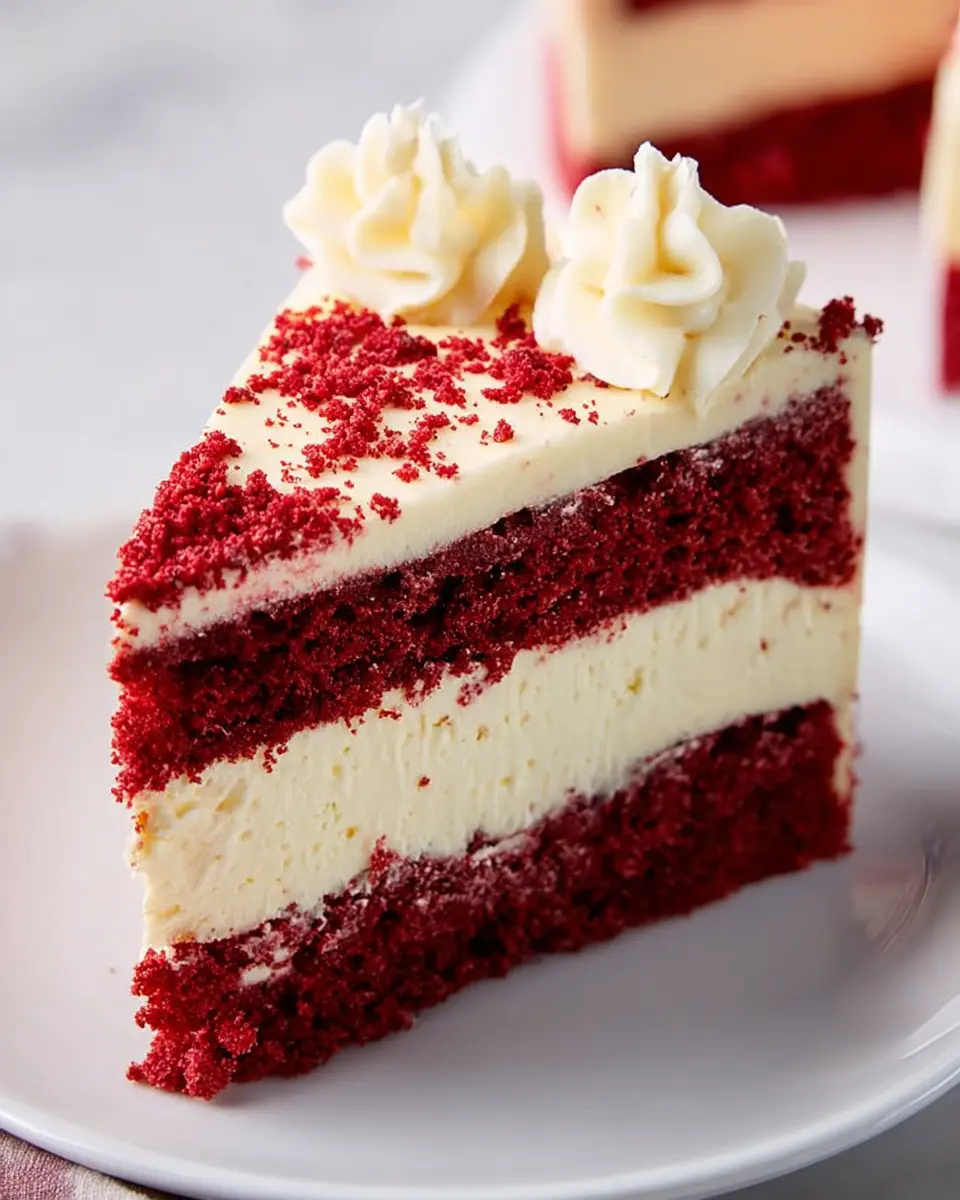
To assemble this stunning treat, place one of your red velvet cakes onto a cake platter. Gently press down the cooled cheesecake layer on top, then finish with the second red velvet layer. This will create a delightful layered masterpiece that’s sure to impress anyone you share it with!
Frost the cake
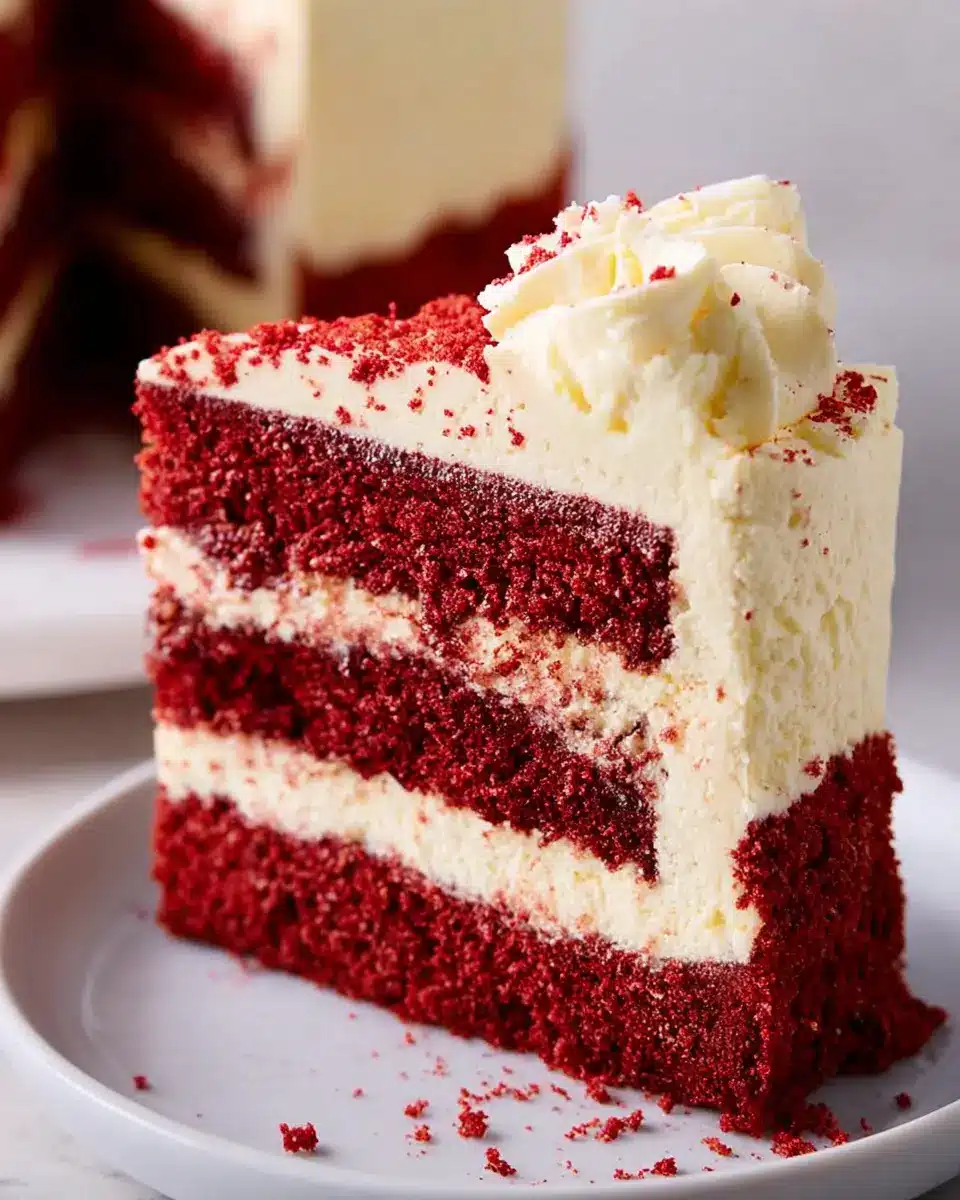
Finish it off by frosting the entire cake with your prepared cream cheese frosting using an offset spatula. For a final touch, sprinkle those saved cake crumbs on top for a lovely garnish. This simple addition adds a personal and special touch to your red velvet cheesecake cake, showcasing your culinary creativity! Now it’s time to slice and enjoy this sweet labor of love!
Variations on Red Velvet Cheesecake Cake
Red Velvet Cheesecake Cupcakes
If you're craving a bite-sized version of the red velvet cheesecake cake, consider whipping up some delightful red velvet cheesecake cupcakes. Simply use the layered red velvet cake mix to fill lined cupcake tins, then add dollops of the creamy cheesecake batter on top before baking. They'll be perfect for parties or when you need a sweet treat on the go. Plus, who doesn’t love a mini version of a favorite dessert?
Gluten-Free Red Velvet Cheesecake Cake
For those following a gluten-free lifestyle, you can still indulge in this delicious dessert! Substitute the all-purpose flour in the red velvet layers with a 1:1 gluten-free baking blend. Ensure the cake mix you select is gluten-free as well. The creamy cheesecake layer can stay the same, resulting in a luscious red velvet cheesecake cake that everyone can enjoy. Check out resources like the Gluten-Free Foundation for more tips on gluten-free baking.
Cooking Tips and Notes for Red Velvet Cheesecake Cake
Ensure Your Ingredients Are at Room Temperature
For the best results, make sure that your cream cheese, eggs, and sour cream are at room temperature before you start mixing your batters. This helps achieve a smoother texture, ensuring each layer of your red velvet cheesecake cake blends perfectly. If you're in a hurry, place your eggs in warm water for about 10-15 minutes and keep the cream cheese out for a bit—as simple as that!
Tips for Leveling the Cake Layers
Once your cake layers have cooled, leveling them is crucial for a beautiful and stable red velvet cheesecake cake. Use a sharp serrated knife and gently saw across the top of the cake. Take your time to maintain consistent height, and save those delicious scraps for some festive decoration! Remember, even a small difference in height can affect how the layers stack up and present themselves. For a fantastic visual guide, check out this leveling technique.
With these simple tips, you're sure to impress friends and family with your stunning homemade creation!
Serving Suggestions for Red Velvet Cheesecake Cake
Pairing with Coffee or Tea
To elevate your red velvet cheesecake cake experience, consider pairing it with a warm cup of coffee or a soothing herbal tea. The rich, velvety flavors of the cake beautifully complement a robust espresso or a lightly sweetened chai. Not only does this combination enhance the taste, but it also makes for a delightful afternoon break. Looking for something sweet? A splash of whipped cream on top of your drink can tie the flavors together.
Serving at Special Occasions
The red velvet cheesecake cake isn’t just a treat for your taste buds; it’s a showstopper at gatherings! Ideal for birthdays, anniversaries, or holiday celebrations, this cake adds a festive touch. Dress it up with decorative sprinkles or fresh berries for a pop of color. For an extra special touch, why not serve it on a beautiful cake stand? Plus, you can invite your guests to savor a slice along with their favorite dessert-flavored coffee—this is the kind of moment they’ll remember! Consider sharing snippets of your baking journey on social media to inspire others!
Time Breakdown for Red Velvet Cheesecake Cake
Preparation Time
To kick off your baking adventure, set aside about 30 minutes for preparation. This includes gathering your ingredients and preheating the oven while you whip up the red velvet batter and cheesecake mixture.
Baking Time
The baking process for the red velvet layers and cheesecake takes approximately 1 hour and 30 minutes. The red velvet cakes will bake for about 30-32 minutes, while the cheesecake layer needs about 1 hour in the oven.
Total Time
When you combine your prep and baking times, you’ll be looking at a total of around 2 hours. Keep in mind that some cooling time is involved, especially for the cheesecake layer before assembling your decadent red velvet cheesecake cake.
If you’re an avid baker, this cake is well worth the time invested. Looking for more cake inspiration? Check out our recipes for Best Classic Cheesecake or Pumpkin Cheesecake. Happy baking!
Nutritional Information for Red Velvet Cheesecake Cake
Calories
If you’re wondering about the caloric content, each slice of this indulgent red velvet cheesecake cake has approximately 300 calories. While it’s a treat best enjoyed in moderation, it’s a delightful option for special occasions!
Protein
Looking to satisfy your sweet tooth while keeping an eye on your protein intake? This cake offers around 5 grams of protein per slice. Pair it with a glass of milk for a little extra protein boost!
Sugar Content
As for sugar, each slice contains roughly 20 grams. While it adds that signature sweetness to the cheesecake layer, be sure to enjoy it as part of a balanced diet. For more detailed nutritional info, visit the USDA FoodData Central site to dive in!
FAQs about Red Velvet Cheesecake Cake
Can I make this cake ahead of time?
Absolutely! This red velvet cheesecake cake can be made a day in advance. Just prepare the separate layers and store them in airtight containers. Keep the cheesecake layer refrigerated, and frost the cake on the day you plan to serve it for the best texture and flavor.
What can I use as a substitute for cream cheese?
If you're looking for a cream cheese alternative, consider using Greek yogurt or mascarpone cheese for a similar creamy texture. For a vegan option, cashew cream or silken tofu blended with a bit of lemon juice can work wonders. Adjust the sweetness accordingly since these alternatives can vary in taste.
How should I store leftover cake?
To keep your red velvet cheesecake cake fresh, store it in the refrigerator in an airtight container or cover it tightly with plastic wrap. It stays delicious for about 4-5 days, but it’s so tempting that it might not last that long! Enjoy each slice guilt-free, knowing you made a delicious treat!
For more tips and tricks on baking, check out King Arthur Baking for expert advice!
Conclusion on Red Velvet Cheesecake Cake
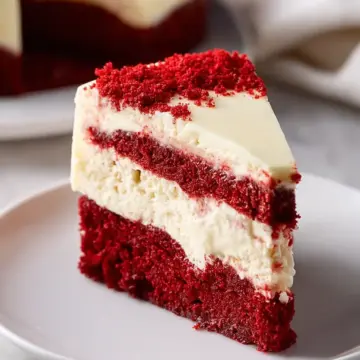
In summary, the red velvet cheesecake cake is a delightful treat that combines the rich flavors of red velvet with the creamy texture of cheesecake. Perfect for any occasion, this cake will surely impress your guests and satisfy your sweet cravings. Give it a try—you won’t regret it!
Red Velvet Cheesecake Cake
Equipment
- 9" cake pans
- 9" springform pan
- hand mixer
- stand mixer
- Offset Spatula
Ingredients
For the Red Velvet Layers
- 1 box red velvet cake mix plus ingredients called for on the box
- Butter for cake pans
- All-purpose flour for cake pans
For the Cheesecake Layer
- 2 8-oz. cream cheese softened
- ⅔ cup granulated sugar
- 2 large eggs
- ⅓ cup sour cream
- 1 Tbsp. all-purpose flour
- 1 tsp. pure vanilla extract
- ¼ tsp. kosher salt
For the Cream Cheese Frosting
- 2 8-oz. cream cheese softened
- ½ cup butter (1 stick), softened
- 2 ¼ cups powdered sugar
- 1 tsp. pure vanilla extract
Instructions
Instructions
- Preheat oven to 350º and butter and flour two 9" cake pans. Prepare red velvet cake batter according to box instructions.
- Divide batter among prepared cake pans and bake until a toothpick inserted in the center comes out clean, 30 to 32 minutes. Let cool slightly in cake pans, then invert onto a wire rack to cool completely. Using a serrated knife, level out tops of the cake so they're flat (save scraps for decorating!).
- Make cheesecake layer: Line a 9" springform pan with parchment and spray with cooking spray. In a large bowl using a hand mixer or the bowl of a stand mixer fitted with the paddle attachment, beat cream cheese and sugar until fluffy and combined, 3 minutes. Add eggs, one at a time, until combined. Add sour cream, flour, vanilla, and salt and beat until combined.
- Pour filling into prepared springform pan and bake until only slightly jiggly in the center, about 1 hour. Let cool slightly, then transfer to the freezer to cool completely and firm up before assembling.
- Make cream cheese frosting: In a large bowl, beat cream cheese and butter until light and fluffy, then add powdered sugar and vanilla and beat until combined.
- Assemble cake: On a cake platter, place one red velvet cake. Top with cheesecake layer, pressing down firmly, then top with second red velvet cake.
- Using an offset spatula, frost cake with cream cheese frosting.
- Garnish with red velvet cake crumbs before serving.
Leave a Reply