
Introduction to Artisan Pizza Dough
Making homemade pizza can sometimes feel like a daunting task, especially if you’re aiming for that perfect crust. Enter artisan pizza dough, a true game changer for pizza lovers everywhere. Unlike standard pizza dough, artisan versions boast a unique blend of texture and flavor that can elevate your home-cooked pizza to pizzeria levels.
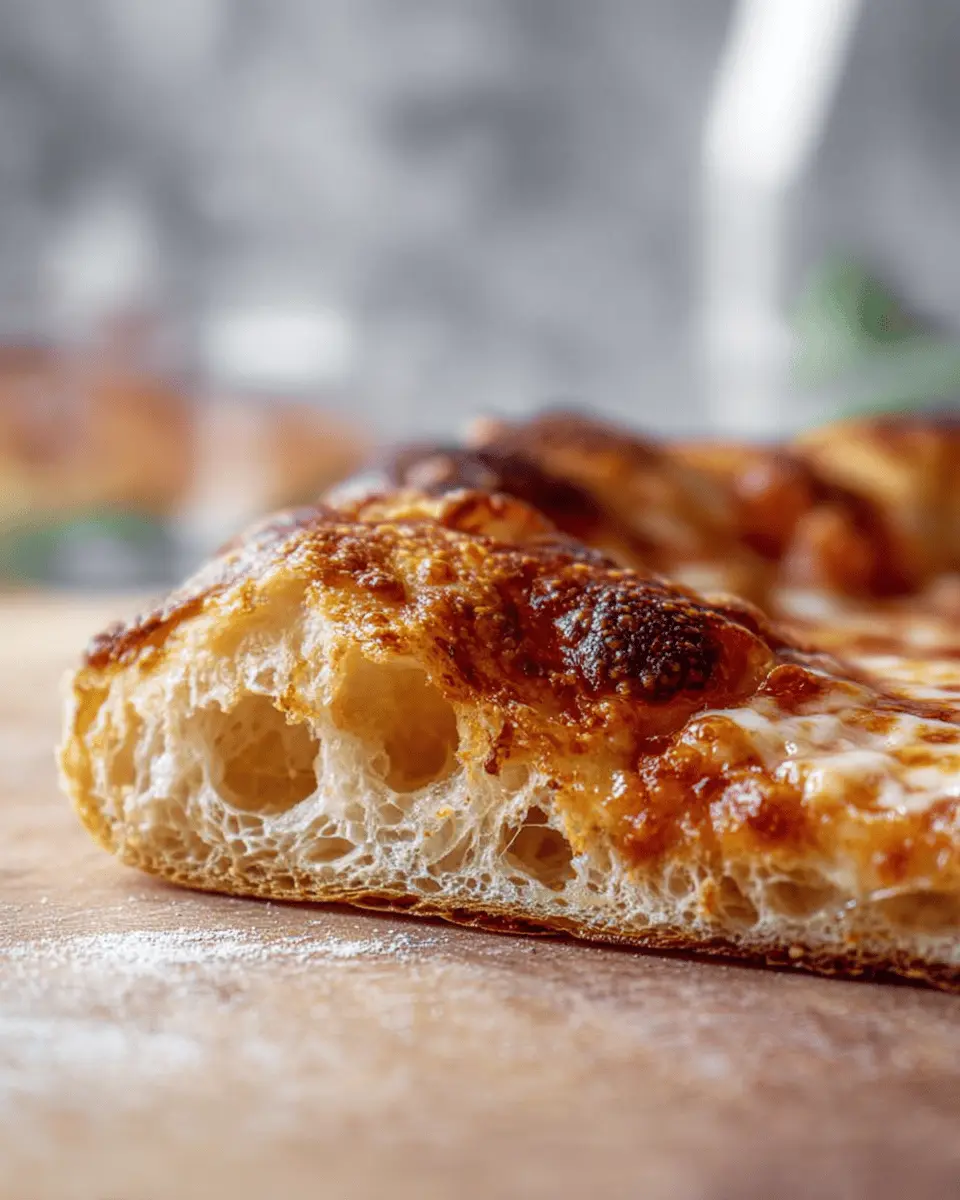
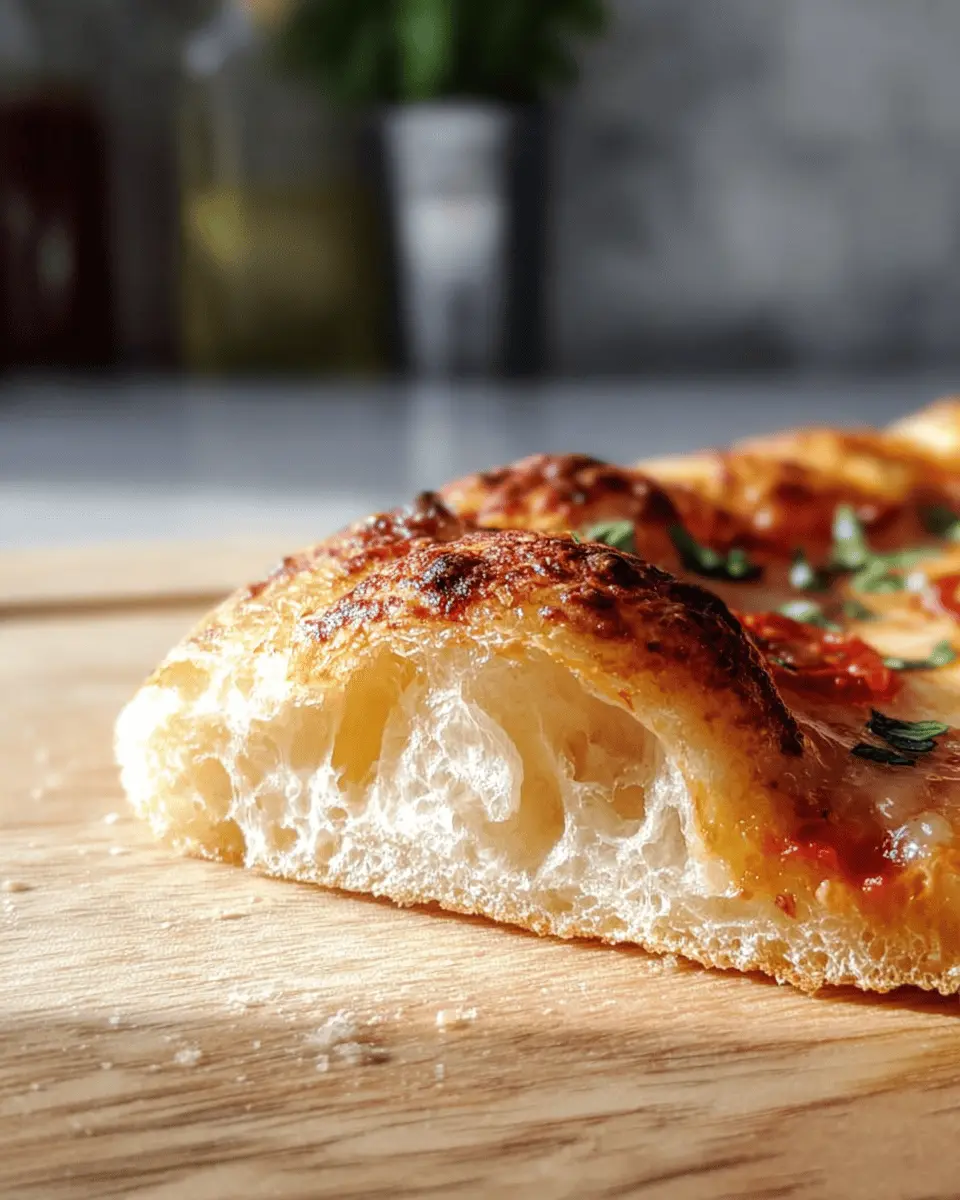
Why is artisan pizza dough so transformative? It's all in the process. Artisanal dough is often high-hydration, allowing for that deliciously crispy, chewy, and airy crust that we all crave in a great pizza. The technique used for mixing and folding creates a complex flavor profile and a bubbly texture, making it a delight for both the palate and the eye. According to Serious Eats, this method not only enhances the crust's flavor but also contributes to its overall structure.
Have you ever bitten into a slice and marveled at its depth and character? That's the beauty of using artisan pizza dough. It requires a bit of time and patience, but the rewards are endless. Whether you’re hosting a gathering or enjoying a cozy night in, this dough will be your secret weapon to impress friends and family alike. Dive in, and let's make your pizza dreams come true!
Ingredients for Artisan Pizza Dough
Essential ingredients for your perfect pizza crust
Creating the ultimate artisan pizza dough starts with a few fundamental ingredients that work together to give you that coveted crispy, chewy, and bubbly crust. Here’s what you need:
- Flour: 500g (3 ¾ cups plus 2 tbsp) of all-purpose flour is key. It provides the structure and chewiness everyone loves in a great pizza.
- Water: You'll need 375g (1 ½ cups plus 2 tbsp) of warm water to activate the yeast and bring everything together. Warm water helps facilitate fermentation, leading to that delightful rise in your dough.
- Yeast: Just a tiny amount, 1g (¼ tsp) of active dry yeast, is essential for aeration. It helps the dough expand and creates those lovely bubbles in the crust.
- Salt: 10g (1 ½ tsp) of fine salt is crucial. Not only does it enhance the flavor, but it also strengthens the dough's gluten structure.
By selecting high-quality ingredients, you ensure a pizza crust that's both delectable and unforgettable. Want to dive deeper? Check out this guide on mastering pizza dough ingredients.
Preparing Artisan Pizza Dough
Crafting the perfect artisan pizza dough is a rewarding experience that sets the stage for a delicious homemade pizza night. Here’s how to get started, step by step.
Mix the Flour and Water for the Dough
Start by combining the flour and 1 tablespoon of warm water in a large bowl. Mix until the ingredients are just combined. At this point, don’t worry about perfect consistency; you just want to moisten the flour. Cover the bowl with a kitchen towel or plastic wrap and let it rest for about 20 minutes. This autolyse process hydrates the flour, helping to improve dough structure. While it's resting, you can prepare for the next step by measuring out your yeast and salt.
Incorporate Yeast and Salt
After the dough has rested, it’s time to sprinkle the fine salt over the surface. In a separate cup, dissolve the active dry yeast in the remaining warm water. Gently stir the yeast mixture and pour it onto the dough. With lightly wet hands, you will start folding the dough: reach underneath the dough, stretch a section up, and fold it over itself. Repeat this until you start to see a shaggy dough form. This folding method not only incorporates the yeast and salt but also begins developing the dough's gluten structure. Let it rest for about an hour. For a deeper dive into yeast fermentation, check out King Arthur Baking for more detailed insights.
Develop Gluten Through Folding
With your dough resting, it’s time to develop that all-important gluten structure. Lightly wet your hand and fold the dough several times, rotating the bowl each time. This technique strengthens the dough and increases elasticity, making for a perfectly chewy crust. Once the dough has turned into a tight ball, invert it into a greased bowl with the seam side down. Cover and let it rise until it doubles in size—this usually takes about 5 to 6 hours.
Shape the Dough Balls
Once your dough is nice and puffy, it’s time to make individual dough balls. Turn the dough out onto a floured surface and divide it in half. Working with one piece at a time, stretch and fold the edges towards the center, creating a ball shape. Ensure the seam is underneath to maintain structure. Cup your hands around the dough and gently drag it towards you, creating tension on the top. This will help keep your dough ball nicely rounded. Place it seam-side down on an un-floured surface.
Rest and Prepare for Baking
Transfer the shaped dough balls to a greased plate and lightly oil the tops. Cover them with a cloth or plastic wrap and let them rest at room temperature for about an hour. This resting period allows the gluten to relax, making it easier to stretch your dough later. If you're not using the dough immediately, simply wrap it tightly in plastic and refrigerate for up to two days.
With your artisan pizza dough perfected, you’re ready to make some mouthwatering pizzas! Just follow the rest of the recipe for baking, and you’re in for a treat.
Variations on Artisan Pizza Dough
Whole Wheat Artisan Pizza Dough
For a healthier twist on your artisan pizza dough, consider using whole wheat flour. Not only does it provide a nutty flavor, but you’ll also benefit from increased fiber. Substitute half of the all-purpose flour with whole wheat flour in the original recipe, and make sure to add a bit more water, as whole wheat flour tends to absorb more. This variation still yields that delightful crispy, chewy crust we all love!
Gluten-Free Artisan Pizza Dough
If you’re craving pizza but need a gluten-free option, fear not! You can adapt your artisan pizza dough with gluten-free flour blends available at most grocery stores. Look for a blend that includes xanthan gum, which helps mimic the elasticity of traditional dough. Just swap the all-purpose flour straight for your gluten-free mix, and adjust the water content as needed to achieve that perfect texture. Check out resources like Celiac Disease Foundation for tips on gluten-free baking!
Experimenting with these variations not only broadens your pizza possibilities but also caters to various dietary preferences. Happy baking!
Best Practices for Achieving the Perfect Crust
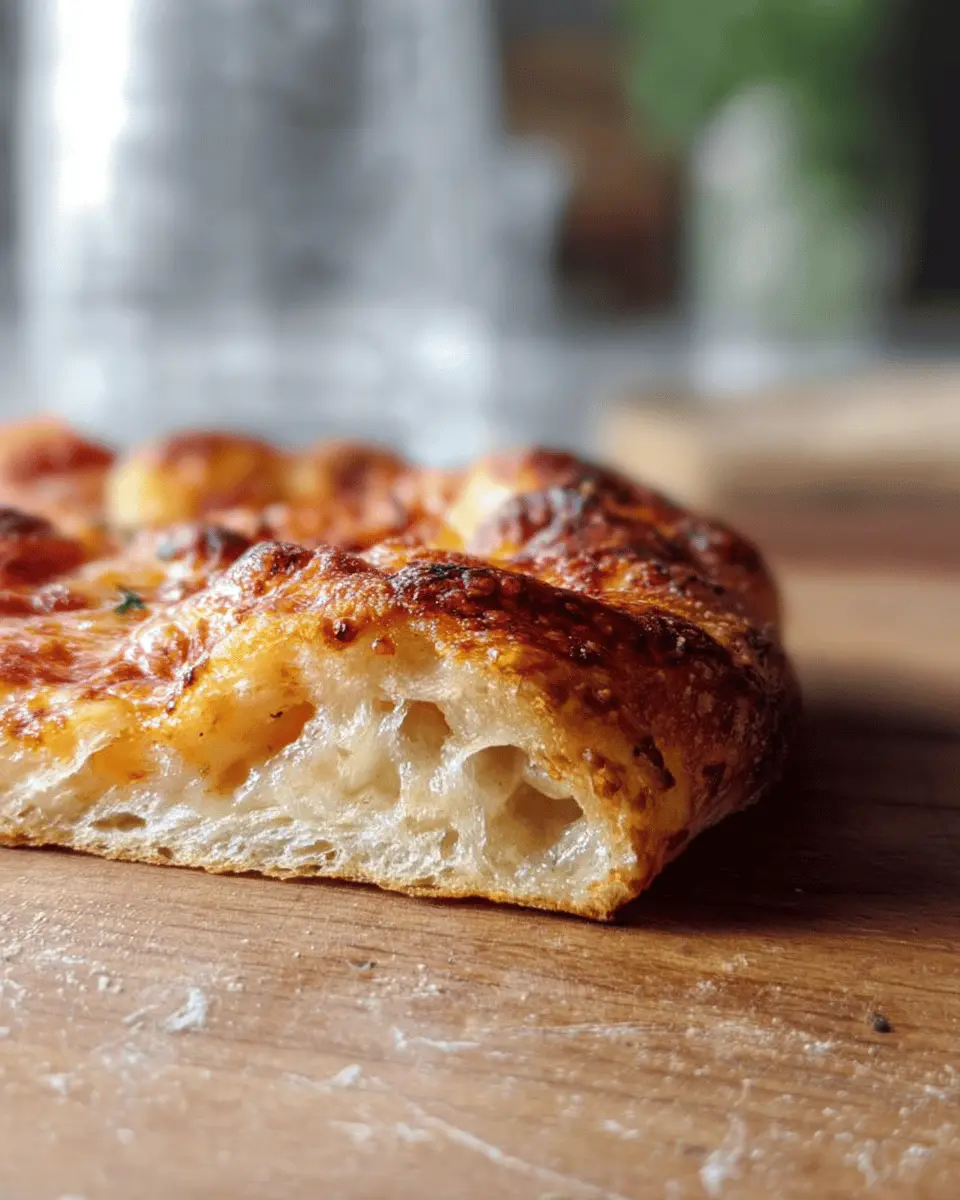
Creating a memorable artisan pizza dough is all about the little details. Here are some tips to help you achieve a crispy, chewy, bubbly crust every time:
- Hydration Matters: Ensure you measure your water accurately. A higher hydration dough (like this one) results in a lighter crust.
- Knead Wisely: Rather than traditional kneading, focus on folding to develop gluten without overworking the dough. This gentle method helps maintain the airy structure.
- Temperature is Key: Allowing your dough to rise at room temperature ensures flavor development as the yeast ferments.
- Preheat: Don’t skip preheating your oven and baking surface for that perfect crust. A hot environment helps the dough spring up immediately, creating those delightful bubbles.
For more detailed insights into dough handling, check out Serious Eats. Happy baking!
Serving Suggestions for Artisan Pizza Dough
When it comes to artisan pizza dough, the sky's the limit! Elevate your homemade pizza with a variety of toppings that reflect your taste and creativity. Here are some delicious ideas:
- Classic Margherita: Fresh tomatoes, mozzarella, basil, and a drizzle of olive oil celebrate simplicity.
- Mediterranean Delight: Top with feta cheese, kalamata olives, sun-dried tomatoes, and a sprinkle of oregano for a zesty touch.
- BBQ Chicken: Swap out traditional sauce for BBQ sauce, then layer on shredded chicken ham, red onion, and cilantro.
- Veggie Supreme: Load up on bell peppers, red onion, mushrooms, and spinach for a garden-fresh experience.
- Brunch Pizza: Add scrambled eggs, turkey bacon, and fresh herbs for a fun twist.
These combinations will not only showcase your artisan pizza dough but also impress your friends and family! For additional inspiration and pairing ideas, check out PizzaLab.
Time Breakdown for Artisan Pizza Dough
Preparation Time
Creating your artisan pizza dough takes about 30 minutes of active preparation. This includes mixing the ingredients and kneading the dough.
Resting Time
Allow time for the dough to rest and rise: an initial 1 hour for the first rise, plus an additional 5-6 hours for it to double in size.
Total Time
In total, you're looking at around 6-7 hours from start to finish, but don’t worry! Most of that time is hands-off, so you can enjoy other activities while your dough develops its amazing flavor and texture.
For more tips on working with dough, check out resources like Serious Eats for expert advice. Don't forget to enjoy the process—great pizza begins with great dough!
Nutritional Facts for Artisan Pizza Dough
When crafting your delicious artisan pizza dough, it’s good to know what you’re working with nutritionally. Here’s a quick breakdown:
Calories
Each serving of this artisan pizza dough contains approximately 209 calories, making it a satisfying base without overloading on excess calories.
Carbohydrates
With about 41 grams of carbohydrates per serving, this dough provides a hearty, energy-rich foundation ideal for your favorite toppings. Perfect for fueling your day!
Sodium
In terms of salt content, each serving has around 375 mg of sodium. While this is reasonable, you can easily adjust seasonings based on your dietary needs. Remember, moderation is key!
For more insights, consider visiting the USDA’s FoodData Central for detailed information on nutritional values and how different ingredients can affect your favorite recipes!
FAQs about Artisan Pizza Dough
How long can I store the dough in the fridge?
You can store your artisan pizza dough in the fridge for up to two days. Simply cover it tightly with plastic wrap to prevent it from drying out. When you're ready to use it, let it come to room temperature for about 30 minutes before shaping. Cold dough can be a bit more difficult to stretch, so this step is essential for achieving that perfect crust.
Can I freeze artisan pizza dough?
Absolutely! Freezing is a great way to extend the life of your artisan pizza dough. After the dough has risen and been shaped into balls, wrap each ball tightly in plastic wrap and place them in a freezer-safe bag. They can be stored for up to three months. To use, transfer the dough to the fridge overnight to thaw before bringing it to room temperature.
What makes artisan pizza dough different from regular dough?
The key differences lie in the ingredients and the method. Artisan pizza dough typically uses high-protein flour, which contributes to its crispy yet chewy texture. The longer fermentation process, often allowing for longer rise times, also enhances the dough's flavor and creates those delightful air bubbles you crave in a perfect pizza crust. If you're looking to elevate your pizza game, this is the way to go!
For more tips on pizza making, check out this link to the Pizza Lab for expert advice.
Conclusion on Artisan Pizza Dough
Embrace your homemade pizza journey and enjoy!
Crafting your own artisan pizza dough is not just a cooking task; it’s a delightful journey! As you experiment with flavors and toppings, you’ll create mouthwatering masterpieces that impress friends and family alike. So roll up your sleeves, have fun, and savor every slice of your delicious creation!
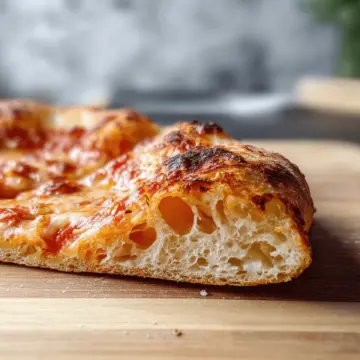
artisan pizza dough- crispy, chewy, bubbly crust
Equipment
- Mixing bowl
- Pizza Peel
- Oven
- baking steel or stone
- cast iron pan
Ingredients
- 500 g all-purpose flour
- 375 g warm water divided
- 1 g active dry yeast ¼ tsp
- 10 g fine salt 1 ½ tsp
Instructions
- Mix flour and all but 1 tablespoon of the water in a large bowl until just combined, then cover and set aside for 20 minutes to rest. Sprinkle yeast over remaining warm water and set aside to dissolve.
- Sprinkle salt over the surface of the dough. Stir yeast mixture and pour over dough. Fold the dough: lightly wet your hand, reach under the dough, and stretch a section of it over the top. Repeat until the center of the dough is covered. Then, using your thumb and fingers as pincers, squeeze and pinch off 5-6 chunks of dough. Wet your hand to minimize sticking. Fold the dough over itself a few times. Repeat pinching and folding until the yeast and salt are fully mixed and a shaggy dough is formed. Cover the bowl and let rest about an hour.
- Fold the dough one time to develop the gluten: lightly wet your hand, reach underneath the dough and stretch up a section of the dough, then fold it over the center. Rotate the bowl and fold four to five more times, or until the dough has tightened into a ball. Take the entire ball of dough and invert it into a clean, lightly greased bowl, so the seam is down and the top is smooth. Cover and let rise until doubled in volume, 5-6 hours.
- Turn the dough out onto a floured work surface and cut in half. Working with one piece of dough at a time, shape into a ball as follows. Stretch out a quarter of the dough just until you feel resistance, then fold it back over the center. Repeat stretching and folding the remaining three edges until the center is covered and a loose ball is formed. Turn the ball over so the seam is down and place it on an un-floured area. Cup your hands around the dough and gently pull it towards you, dragging the bottom along the counter to create a bit of tension. Rotate the ball 90 degrees and drag it a few inches towards you again. Repeat rotating and gently dragging until the top of the dough tightens up and the ball is round.
- Transfer to a greased plate and repeat with remaining dough. Lightly oil the tops, cover and let rest at room temperature for about an hour. Preheat oven at this time. If not using right away, cover tightly with plastic wrap and refrigerate until ready (for up to 2 days).
- Place pizza steel, stone, or inverted baking sheet on the middle rack of the oven and preheat to 500°F (or as high as it will go). Let oven heat up for at least 45 minutes. Generously flour a pizza peel and set aside. Alternatively, lightly grease a cast iron pan with olive oil and set aside.
- Place one dough ball on a floured surface and flatten the middle into a large disk, leaving a thick 1-inch lip. Pick up the disk, and holding the thick edge, use gravity to gently shape the dough into a 12-inch circle. Lay on prepared pizza peel and adjust shape into a circle. Jiggle the peel to make sure the dough isn’t sticking, and add more flour if it is. Alternatively, shape the dough to the size of your prepared cast iron pan, then place it inside.
- Add sauce and toppings to pizza dough, leaving the 1-inch perimeter empty. Slide pizza onto the hot steel and bake for 5 minutes. Turn on the broiler and broil for 2-4 minutes, or until cheese is melted and crust is golden and blistered. If using the cast iron pan, bake for 15-20 minutes and broil for the last few minutes to get spots of char.


Leave a Reply