
Introduction to Mummy Rice Krispie Treats
Creating fun and festive treats is a joyful way of expressing your creativity, especially when you're juggling a busy lifestyle as a young professional. Mummy Rice Krispie Treats are not only adorable but also incredibly easy to make, making them the perfect choice for a quick Halloween-themed project. Picture this: a group of friends getting together for a casual autumn gathering, and you whip out these delightful mummies for everyone to enjoy!
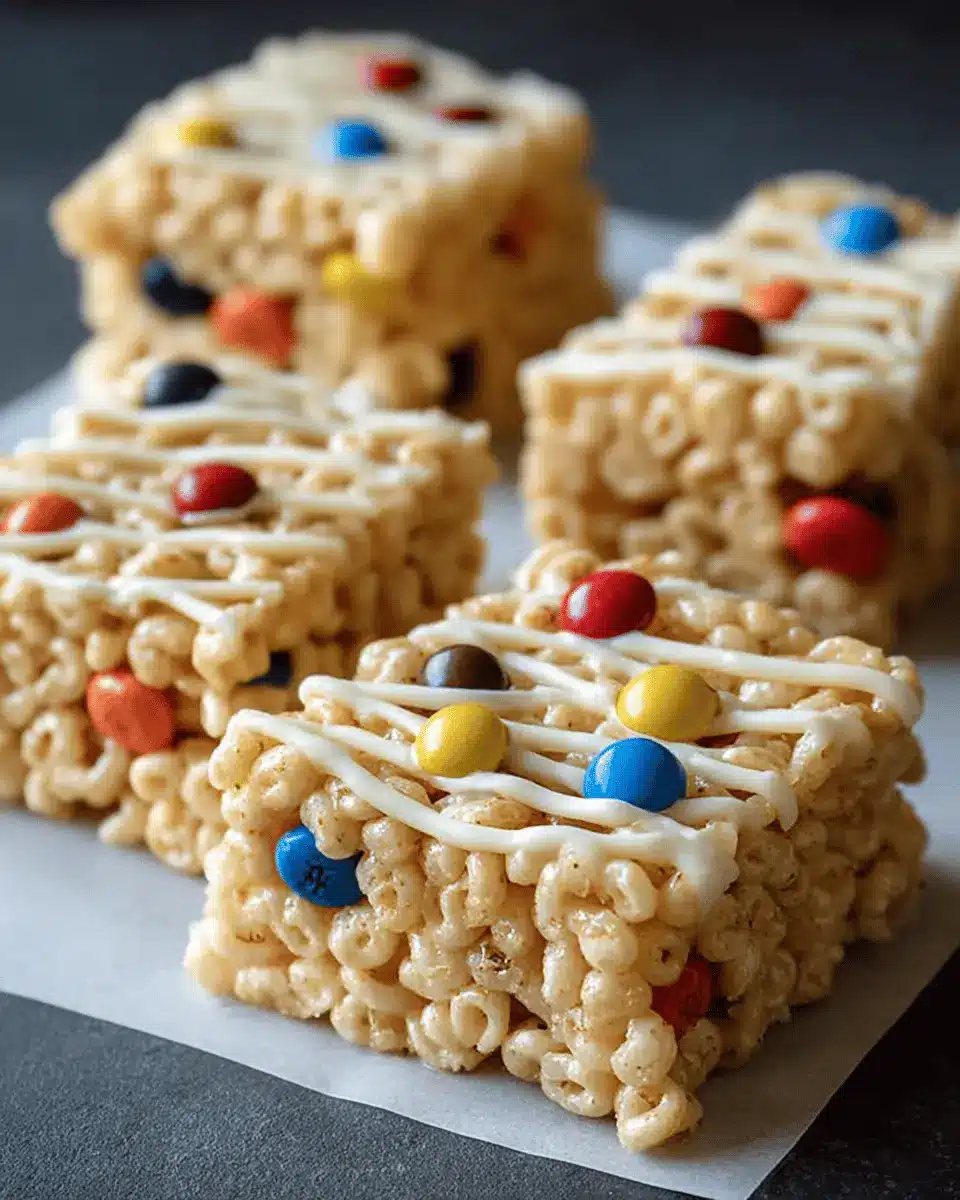
These treats are a nostalgic twist on a classic favorite, combining crispy rice cereal and creamy marshmallows into a chewy delight. Plus, decorating them with melted white chocolate and candy eyeballs adds a fun artistic touch that everyone will appreciate.
They’re also versatile! Feel free to personalize them—swap in festive sprinkles, or even use colored melting chocolate. For busy professionals or anyone who loves a bit of spooky creativity, these treats can fit into any weekend baking spree.
So gather your ingredients, invite over some friends, and embrace the festive spirit. For more insights on making delightful treats that fit your busy schedule, check out this handy guide on easy holiday recipes. It’s time to get your mummy's on!
Ingredients for Mummy Rice Krispie Treats
Getting started on your Mummy Rice Krispie Treats means gathering a few key ingredients that will turn this classic treat into a spooky delight. Let’s dive right in!
For the Rice Krispie Base
To achieve that perfect chewy texture that everyone loves, you'll need:
- 6 cups Rice Krispies cereal: This is the star ingredient, providing that satisfying crunch.
- 1 10 oz bag mini marshmallows: They help create the gooey goodness that binds everything together.
- 3 tablespoon unsalted butter: A little fat goes a long way in adding richness and flavor.
Getting these three items ready will form the delicious base for your treats!
For the Mummy Decoration
Now, let’s make our treats look like the cute little mummies they are! Gather these essentials:
- 1 ½ cups white chocolate chips or melting wafers: The secret to draping your mummies in "bandages" while adding sweetness.
- Candy eyeballs: Plan for 1–2 per treat, because what’s a mummy without its adorable eyes?
These components will ensure your Mummy Rice Krispie Treats not only taste great but also look fantastic. Ready to create some spooky magic?
Preparing Mummy Rice Krispie Treats
Making Mummy Rice Krispie Treats is a delightful way to embrace the spooky spirit of Halloween while enjoying a classic dessert. It's festive, fun, and surprisingly straightforward! Let’s walk through the steps to create these charming treats that are sure to impress friends, family, or even yourself.
Melt the butter and marshmallows
To kick things off, we need to create a gooey base. Place your saucepan over low heat and add 3 tablespoons of unsalted butter. Once the butter is fully melted, stir in a 10-ounce bag of mini marshmallows. Keep stirring until you achieve a smooth, creamy mixture. Patience is key here! If you crank up the heat, you risk burning the marshmallows or getting a sticky mess instead of that dreamy texture we want.
Mix in the cereal
Once your butter and marshmallow mixture is silky and homogeneous, it’s time to infuse it with some crunch. Quickly pour in 6 cups of Rice Krispies cereal and stir gently but firmly. You want every piece to be coated with that sweet marshmallow goodness. Yep, it might get a bit sticky—this is where the magic happens, making our treats chewy and delicious!
Press into the pan
Now that everything is mixed, it’s time to transfer this gooey goodness into a 9×13 inch dish lined with parchment paper. Spoon the mixture into the pan, spreading it out evenly and pressing down lightly. A spatula or your lightly buttered hands can work wonders here! Remember, don’t press too hard; we want to keep that nice, soft texture. Let it cool for about 20 minutes.
Cut into shapes
After your treats have cooled, neatly lift them out of the pan using the edges of the parchment paper. Now comes the fun part—cutting them into shapes! You can go for classic squares or rectangles, or why not get a little creative with cookie cutters? Mummies don’t have to be ordinary, after all!
Melt the white chocolate
Time to make your mummies look authentically spooky! In a microwave-safe bowl, heat 1 ½ cups of white chocolate chips in 20-second intervals, stirring well after each round until the mixture is smooth. White chocolate can easily get burnt or seize, so watch it closely.
Add the mummy “bandages”
With your white chocolate ready, it’s time to decorate! Drizzle that melted chocolate over your cut Rice Krispie shapes using a spoon or a piping bag, creating crisscross patterns to mimic mummy wrappings. While the chocolate is still soft, pop on 1 to 2 candy eyeballs per treat. This is where your Mummy Rice Krispie Treats come to life!
Let them set
Finally, allow the decorated treats to harden at room temperature for about 10 to 15 minutes. Once set, they’re ready for a Halloween gathering, a cozy movie night, or simply an afternoon treat. The delight in every bite will make you glad you decided to whip up a batch of these adorable Mummy Rice Krispie Treats. Enjoy your spooky creations!
Variations on Mummy Rice Krispie Treats
Halloween-themed additions
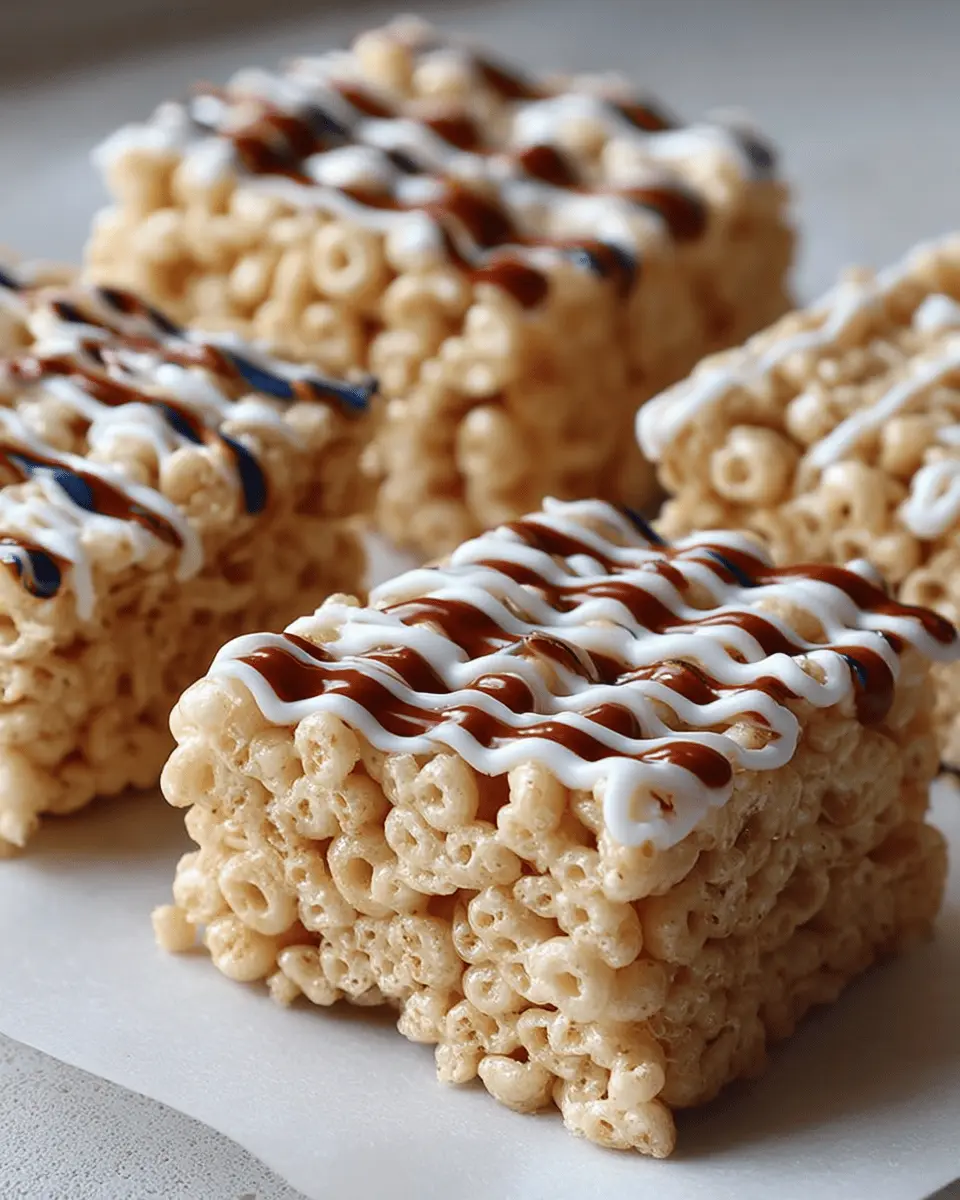
Transform your Mummy Rice Krispie Treats into a spooky masterpiece by adding fun Halloween-themed ingredients. Consider mixing in candy corn or pumpkin-shaped chocolates for a pop of color. You could even fold in some crunchy pretzels for an unexpected twist that mimics bones! For a delightful surprise, try drizzling your treats with dark chocolate for added depth and a little extra spookiness.
Alternative decorations
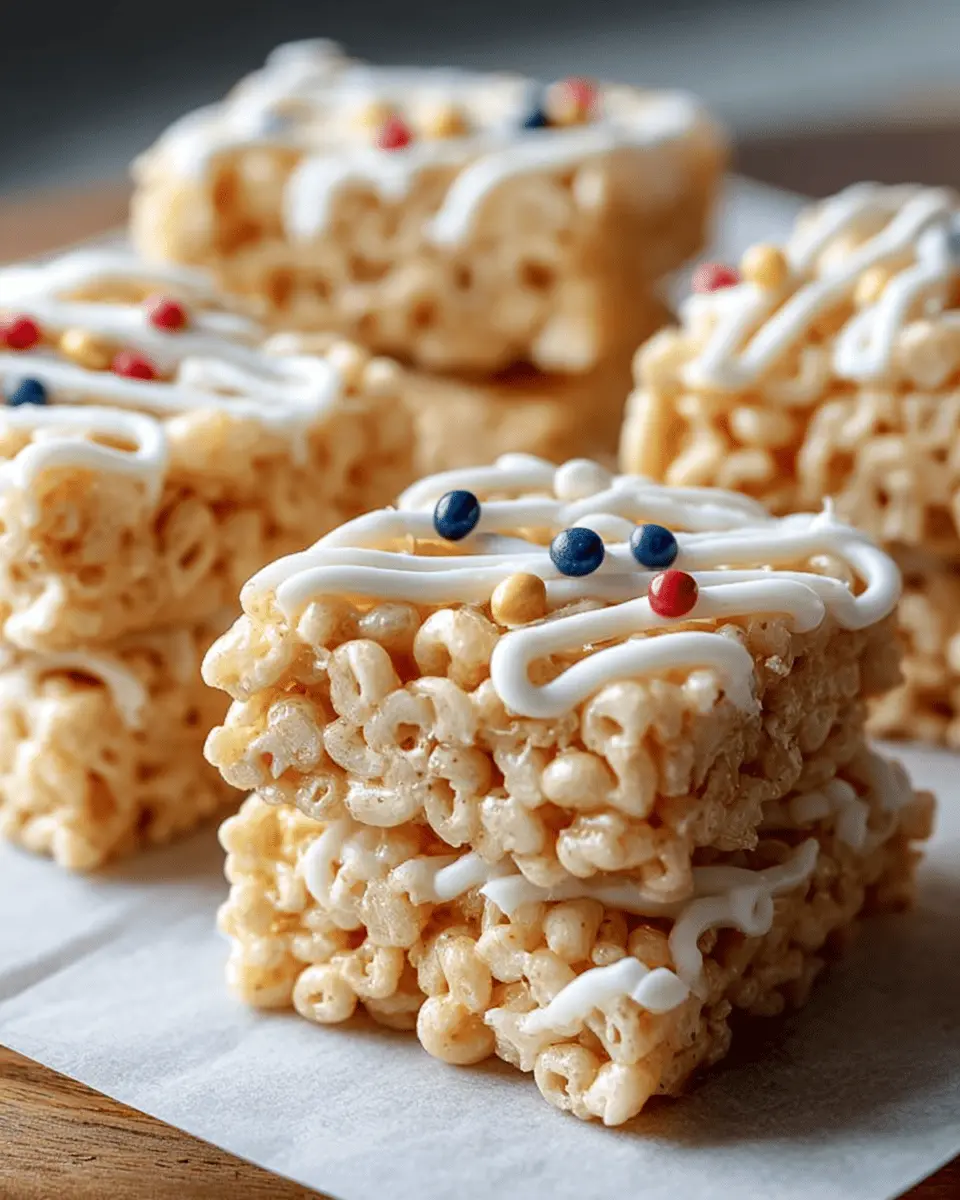
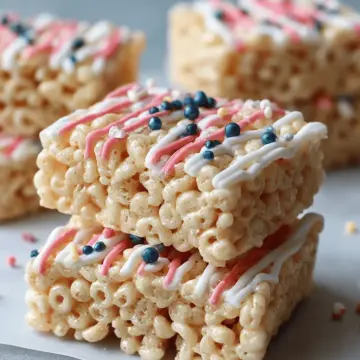
Feeling creative? Use alternative decorations to make your Mummy Rice Krispie Treats stand out. Swap out white chocolate for colorful melting wafers or sprinkle edible glitter on top. Instead of traditional candy eyes, use mini marshmallows for a ghostly effect. And don’t hesitate to get crafty by adding fondant accessories, like tiny hats or capes, turning your mummies into a whole Halloween character ensemble!
For more inspiration and tips, check out Food Network’s Halloween ideas.
Cooking Tips and Notes for Mummy Rice Krispie Treats
Achieving the Perfect Texture
To create that delightful, chewy texture for your Mummy Rice Krispie Treats, make sure to melt the marshmallows gently over low heat. Rushing the process can lead to burnt spots, which will affect the overall consistency. When mixing the Rice Krispies, remember to stir gently but thoroughly to keep the treats soft and airy.
Storing Your Treats
Once your treats are set, store them in an airtight container at room temperature. They usually stay fresh for about three days; however, if you anticipate longer storage, consider wrapping them individually in plastic wrap to maintain their moistness. If you're looking for tips on extending their shelf life, The Kitchn has some great insights! Enjoy crafting these spooky delights!
Serving suggestions for Mummy Rice Krispie Treats
Pair with Seasonal Snacks
To elevate your Mummy Rice Krispie Treats, consider pairing them with seasonal snacks. Opt for pumpkin spice popcorn or apple slices with caramel dip for a delightful contrast. The chewy sweetness of the treats complements the crunch and tartness of apples, creating a festive theme that’s perfect for fall gatherings. Additionally, a charcuterie board including seasonal fruits, cheeses, and savory treats can really set the atmosphere for a spooky snack table.
Creative Presentation Ideas
When it comes to serving these adorable treats, presentation is key! Arrange the Mummy Rice Krispie Treats on a spooky-themed platter surrounded by decorative pumpkins or faux cobwebs. You can even place each treat in cupcake liners for an added pop of color. For a fun twist, use decorative tags to label each mummy. This not only makes serving easier but also adds a personal touch that your guests will love!
Time breakdown for Mummy Rice Krispie Treats
Preparation time
You’ll need about 20 minutes to whip up the Mummy Rice Krispie Treats. This includes melting butter and marshmallows, mixing in the cereal, and cutting the treats into fun shapes.
Cooling time
Allow the treats to cool for 20 minutes before decorating. If you're eager to dig in, no worries—the waiting will be worth it!
Total time
Overall, you can expect to spend roughly 50 minutes from start to finish. Perfect for a fun evening in or a spooky gathering!
For more tips on perfecting your treats, feel free to explore related recipes or visit The Recipe Rebel for inspiration!
Nutritional Facts for Mummy Rice Krispie Treats
Calories per treat
Each Mummy Rice Krispie Treat packs in approximately 190–210 calories. Perfect for a fun snack during the spooky season, these treats offer a delightful burst of flavor without being overly indulgent.
Sugar content
With about 19 grams of sugar per treat, the sweetness comes from a combination of marshmallows and white chocolate. While it’s a treat, keep in mind that moderation is key! If you're curious about alternatives to sweeten your snacks, check out the American Heart Association for more insights on sugar intake.
FAQs about Mummy Rice Krispie Treats
Can I make these treats ahead of time?
Absolutely! Mummy Rice Krispie Treats can be made a day in advance. Just store them in an airtight container at room temperature. They’re perfect for prepping ahead of your Halloween festivities or any fun gathering!
How long do they last?
When properly stored, your Mummy Rice Krispie Treats will stay fresh for about 3 to 5 days. To maximize freshness, avoid exposing them to moisture, which can lead to a sticky texture. If you’re curious about how their texture changes over time, you might even enjoy a little experiment to taste-test them on different days!
What can I use instead of white chocolate?
If you want a substitute for white chocolate, consider using candy melts or vanilla-flavored almond bark. Both create a similar decorative effect and are easy to melt. For a fun twist, you could even try drizzling with dark chocolate to give your mummies a spooky vibe!
For more creative ideas, check out this article on chocolate alternatives.
Conclusion on Mummy Rice Krispie Treats
Creating these delightful Mummy Rice Krispie Treats is a fun and engaging way to celebrate any spooky occasion. Their chewy texture, paired with sweet white chocolate "bandages" and adorable candy eyes, makes them irresistible. Enjoy sharing these treats with friends and family; they’re sure to be a hit!
For more delicious festive recipes, check out our guide on Halloween desserts or explore tips for hosting the perfect Halloween gathering at Party Planning 101.
Mummy Rice Krispie Treats: Easy and Fun Halloween Snacks
Equipment
- saucepan
- spatula
- 9x13 inch dish
- microwave-safe bowl
Ingredients
For the Rice Krispie Base
- 6 cups Rice Krispies cereal
- 1 10 oz bag mini marshmallows
- 3 tablespoon unsalted butter
For the Mummy Decoration
- 1.5 cups white chocolate chips or melting wafers
- 1–2 pieces candy eyeballs per treat
Instructions
Method
- Step 1: Melt the butter and marshmallows. Place your saucepan over low heat and add the butter. Once it’s melted, stir in the marshmallows until completely melted and smooth.
- Step 2: Mix in the cereal. Quickly pour the Rice Krispies cereal into the melted marshmallow mixture and stir gently until every piece is coated.
- Step 3: Press into the pan. Line your dish with parchment paper and spoon in the mixture, pressing it down evenly.
- Step 4: Cut into shapes. Lift the treats from the pan and cut into rectangles or fun shapes.
- Step 5: Melt the white chocolate. Heat the white chocolate chips in a microwave-safe bowl until smooth, stirring often.
- Step 6: Add the mummy 'bandages'. Drizzle the melted chocolate over the treats and place candy eyes on each.
- Step 7: Let them set. Allow the chocolate to harden at room temperature before serving.

Leave a Reply